More sewing and the pads are finished!
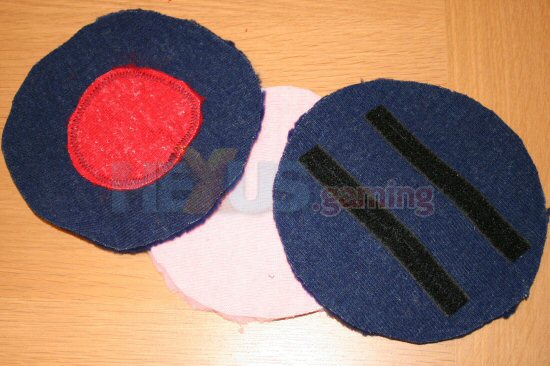
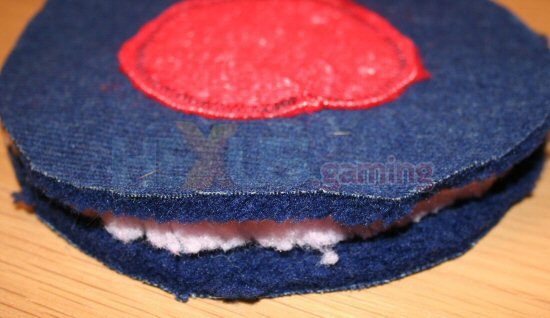
Once the Velcro was on, and the whinging had subsided, all that was left to do was stitch the pads together. This was tougher than it appeared because of the thickness of the material I was using. I was going to go for an inner seam and turn the pads inside out to give a smooth outer appearance, but the problem here was amount of material in the seam itself left the pad looking huge and was too bouncy. So, as my assistant moaned about having to unstitch a completely sewn up pad, I got on with just sewing them up as they were. Click for larger image
To recap, the pad consists of two out layers, one with a coloured felt disc, the other with Velcro strips and a smaller, inner disc of padding. Once the first run around the pad was complete I then trimmed off any excess material and then overstitched around the edge to stop fraying.
 Click for larger image
My pads were complete!
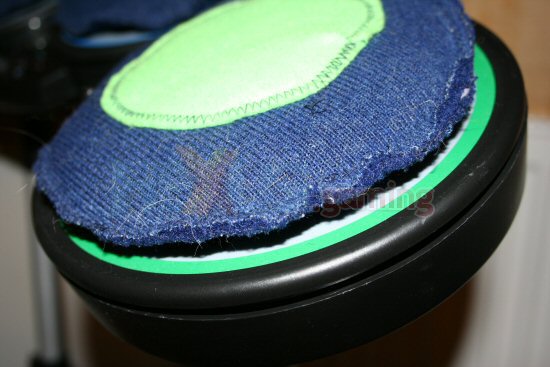
All that was left to do was attached the sticky-backed Velcro to the sewn on strips, remove the backing and then press the pads into place.
 Click for larger image
Yes, I know it looks a bit like a Tomy drum kit now but believe me, it makes a huge difference. You can now actually hear the drums in each track and even better, you can thrash away to your heart’s content without bothering anyone with a constant thwack, thwack, thwack as you blur your sticks of fury during the drum solos… and if you want to go back to old skool Rock Band, just pull off the pads from their Velcro mounts.
 Click for larger image
And that’s how you make Rock Band the game it should be without having to whack the volume up to neighbour annoying levels.


