Installation
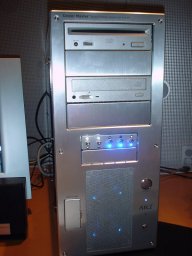
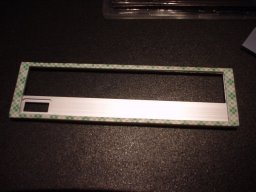
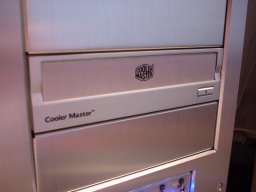
Previously I had painted my CD Drives although I wasn't happy with the paint job I had done on my Lite on CD writer. So I decided to attempt to install the drive bezel to the writer. After a quick check to see it would all fit ok I started applying the sticky pad to the back of the Cooler Master Drive bezel.
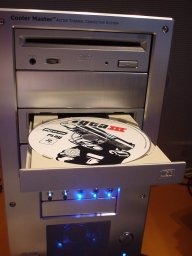
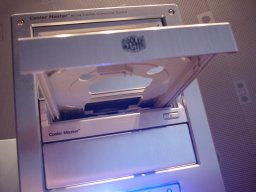
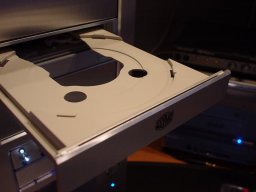
Then the tricky part. When I applied the bezel I lined the bottom of the drive bezel up with the bottom of the CD drive, then slowly swiveled it up to cover the drive making sure the eject button of the drive bezel didn't fall out. After I was happy with that and had ejected the drive a few times to make sure there was still space for the drive tray to operate. I then continued to install the drive tray part of the bezel. This was just a matter of fitting it in the gap in between the drive surround. Yet again I tested to see the drive tray could still operate freely without any parts touching each other. After I was happy it all worked Ii firmly pushed the drive bezel on to make sure it wasnt going to fall off.
I am quite pleased with the overall result of these bezels although I realise if I had a computer case full of CD roms and each bay had 1 of these drive bezels installed the Cooler Master logo and writing could be slightly over powering and off-putting. Although I did hear there was talk about making the logo and writing smaller on future drive bezels.


