Project Black Ice - Part 4-2
If you look carefully at the geforce 4, you will notice that the height of the BGA RAM is less than that of the GPU, further more u can also see that there are a few capacitors dotted around which are higher than the RAM - this was a problem that made having one whole cold plate for each side difficult. My first solution was to have seperate copper plates for the ram which were to be raised up slightly with copper sheet spacers and then those plates artic silver epoxied to the main GPU plate. I originally decided to do this as I couldn't get hold of copper sheet of the exact thickness needed to be used as a spacer to make it the same height as the GPU.![]()
Eventually I did manage to get hold of some with the right thickness and redesigned the plates to what you see now. I preferred this as there would be no cooling power lost on the thermal junction between the ram plates and the GPU plate. I proceeded to silver epoxy the spacers to the front and back cold plates, then using brass studding I bolted the 2 plates and card together:
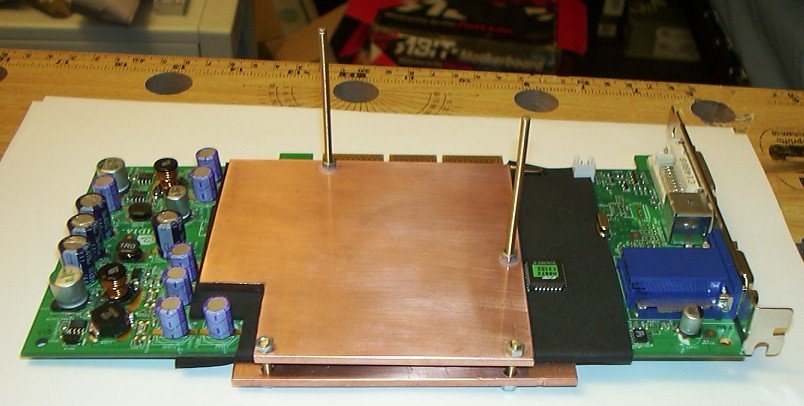

The gap you see on the edge will have a small piece of copper silver epoxied to it, allowing heat transfer from the back to the front. Below you can see how the water block (and peltier) will mount when finished.
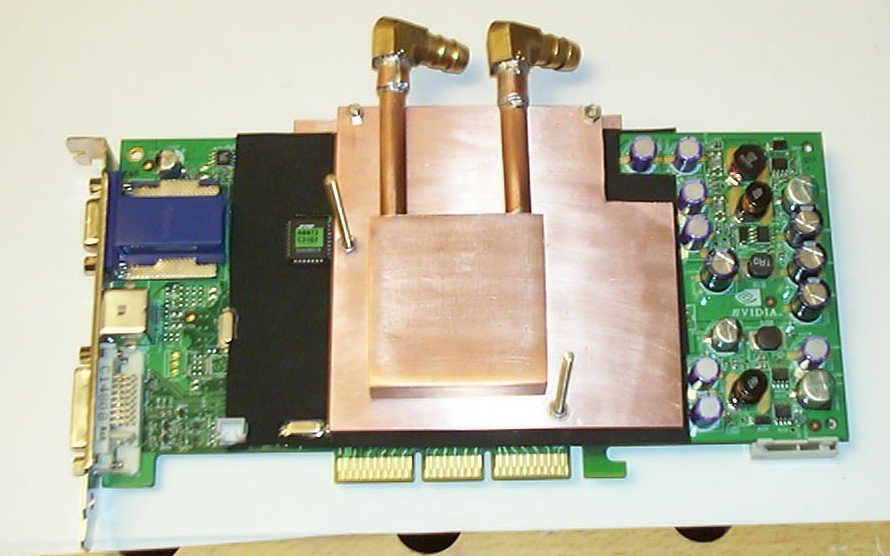
For now I will leave the the tests with the peltier to a small final article - I want to ensure everything is water tight first and to do things like voltage mod's to the card which are tricky to do once the entire card is insulated in neoprene. I cut and drilled a small aluminium plate to secure the block to the top cold plate. When ready for the peltier, 2 larger (card size) aluminium plates will be used on both sides to sandwich the card with neoprene - ensuring an air tight seal to stop condensation. Next I moved onto the construction of the heat exchanger:
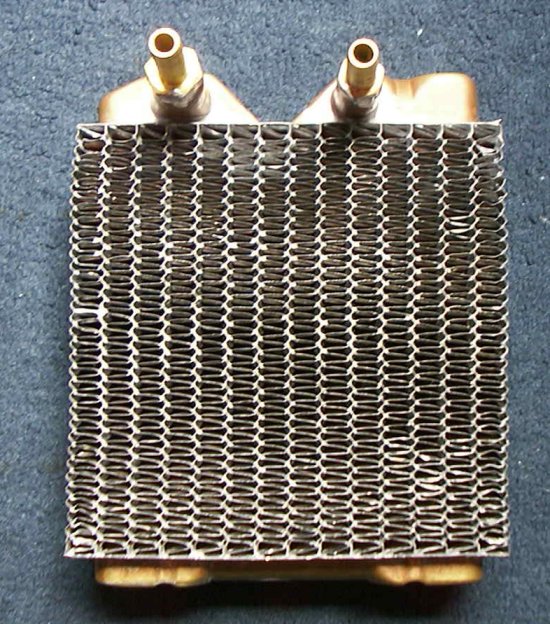
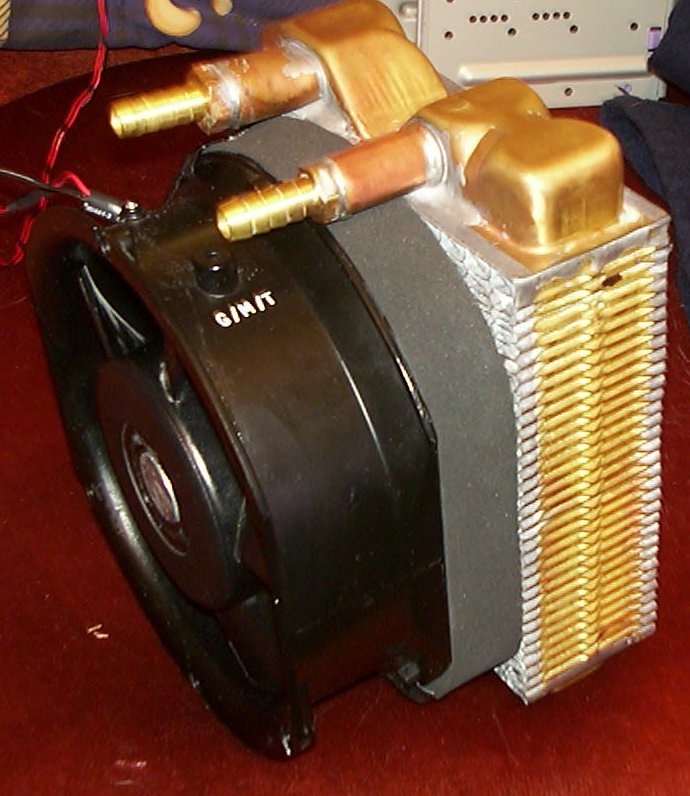
The heat exchanger consists of a 'big momma' parallel flat tube radiator and a 172mm commair fan. This fan has a very large centre spindle piece which would block a lot of the air flow around that area of the radiator, so I used some metal stand off's to raise the fan an inch from the radiator surface. The fan was secured by threading cable ties through the fan, then the stand off's and finally through the fins of the radiator. I used a strip of neoprene to 'fill' the gap up and act as a duct.
The pumping system consists of a maxijet 1000 LPH pump and a small 'air trap' box.
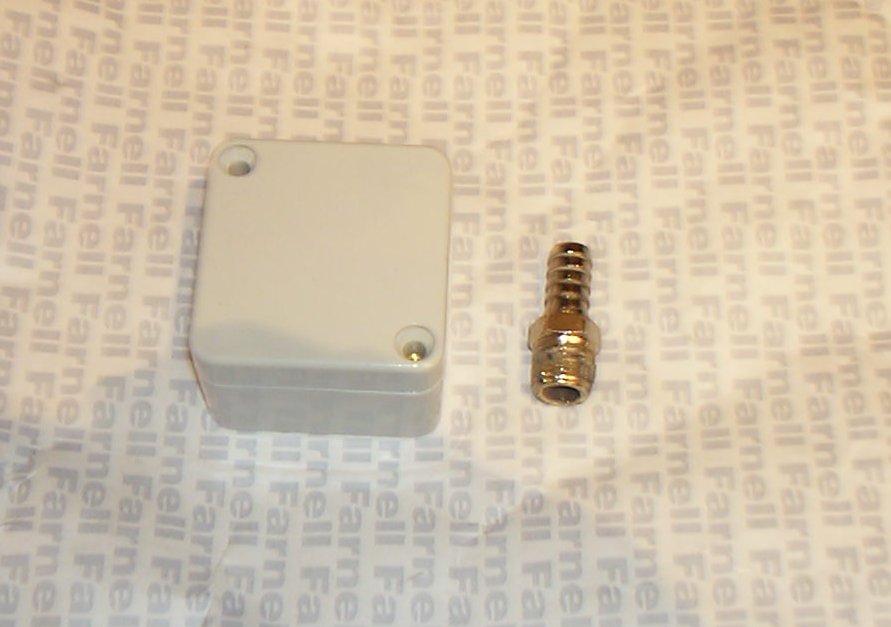
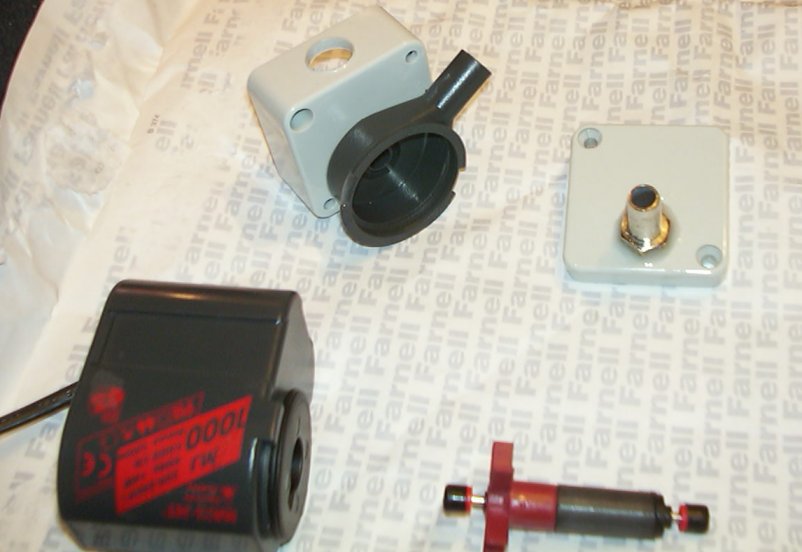
The small box is a IP67 rated sealed box - ensuring i'm not going to be getting a leak from the lid seal. I cut a hole for the pump inlet and for a brass barb. Using normal epoxy resin (in this case araldite), I glued them in place and let it set for a few hours. I also put some epoxy around the pump rubber seal to ensure it doesn't leak.
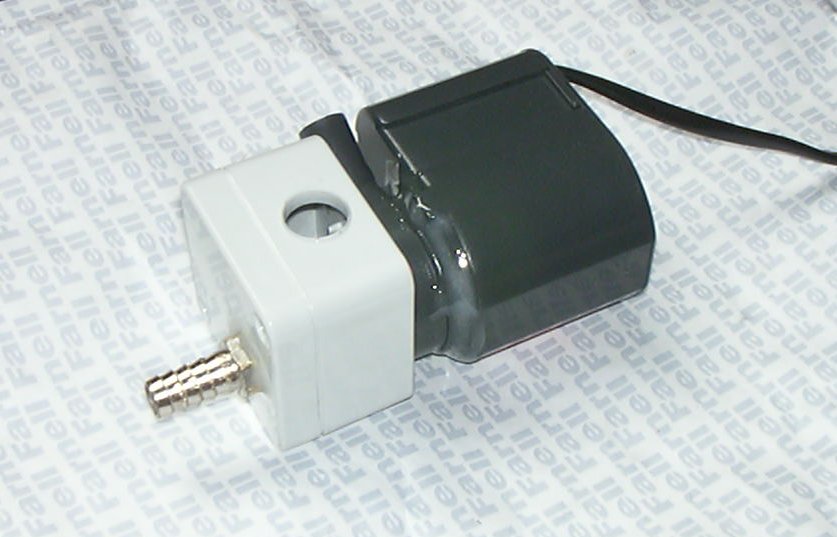
The top hole u see there is a fill hole, which will be plugged up with a plastic stopper when the system is fully filled.
That's the end of this article for now. A short article will be coming very soon - running through tests of the geforce 4 with the peltier fitted and benchmarks of the system as a whole, along with a gallery of final system pictures.