facebook rss twitter

Review: Project Black Ice - Part 2

by David Ross on 28 March 2002, 00:00

Quick Link: HEXUS.net/qake

Add to My Vault: x

Project Black Ice - Part 2

Project Black Ice - Part 2

In the previous article I looked at the goals, specifications of project black ice and showed details of the new evaporator housing. In this article I actually get down to business and get carving that case up! :) This article will cover all the case mod's and the construction of the new evaporator housing as well as initial CPU testing.

If you plan to do similar mod's to your case then please note you will need a lot of tools to do the job properly. I used the following tools during the case mod's:

- Jigsaw: Essential!, make sure you get fine tooth bi-metal blades of good quality. Get about 10 blades as they do wear down fast cutting steel.
- Small and big Hacksaw with various blades
- Workbench: Makes cutting stuff a LOT easier.
- Power Drill with a good range of HSS drill bits, preferably variable speed if your going to use a hole cutter.
- Hole Cutters: Not essential but are the best way to get a nice clean hole, again make sure you get a bi-metal one.
- Sanding block, various sanding papers, metal files etc.
- Bench press pillar drill: I got away with just the power drill for the first mod's, but I had to buy a pillar drill when it came to make the evaporator housing.
- Protective goggles - VERY important, cutting steel with a jig sends bits everywhere and will easily blind you if your not careful.

First things first, let's strip down the case:

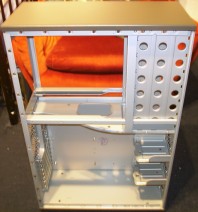
What's that big ugly metal plate going across the middle of the case? - that has to go!. I drilled out the support rivets and removed it completely so I can cut it more easily:


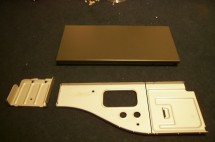
Whilst I was drilling out rivets I also removed the top panel and the bottom hard drive tray as that will be getting in the way of the water radiator. The 'wire blocker' plate was cut along the line shown and will be re-rivited back in later.

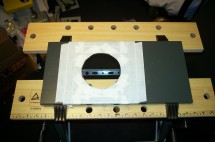
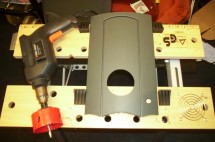
With the top panel removed, I prepared it for hole cutting the top 120mm fan hole:

This is where I ran into a bit of a problem - I trashed the hole cutter :(. I only got halfway through before the blades on the cutter were totally warn away. My drill doesn't have a speed control, and even though I revved it up and down to try and control the speed, I think I was still going way too fast. Oh well, its probably just as well as I decided I wanted the hole more central as it might hit the power supply. I marked out a new hole and proceeded to cut it with the jig - as always when using a jig masking tape up the area your going to cut as it will scratch all the nice paint work:

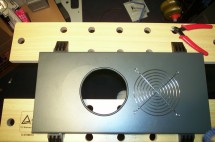
Not too bad! - once I finished it off with some rubber trim. You can see the slight indentation the previous hole cut has made - it really isn't noticeable, the camera flash has made it look far more visible than normal. With the top hole cut, I moved onto cutting the holes on the bay door. These are needed for the 120mm air intake fan than i'm going to mount in the bottom 3 bays, to supply cool air to the vapochill rig. The hole was cut using a 76m hole cutter, as shown below:

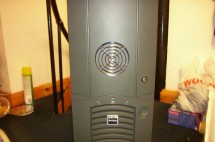
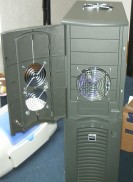
Since the hole cutter gave me a perfect hole, I could do a 'stealth' fan grill mod. The result of which, I think you will agree, is very nice...so much so I did another :)

I thought it best to have two 80mm holes to provide the 120mm fan with plenty of breathing room. I was originally going to cut a 120mm hole in the door also, but it would have interfered with the groove on the door.

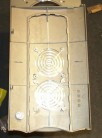
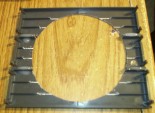
All that remained to be done now was to cut the 120mm hole into the lower three bays. Using the fan grill as a template I outlined a 120mm circle on the plastic bay covers. I then removed the covers from the case and cut them with a hacksaw. They were then sanded and spot glued together with araldite. Once set I mounted the fan grill:


Nice :)

PAGE 2 >>