


Extending the PSU Cables
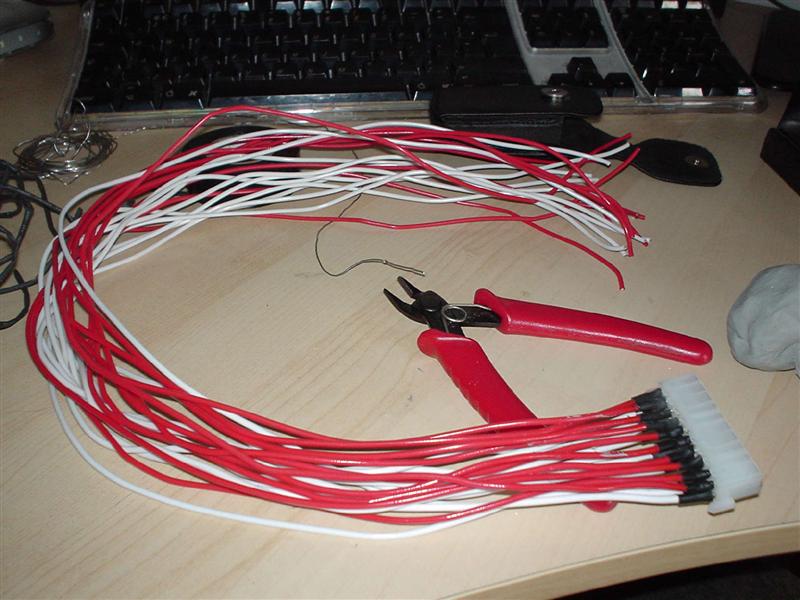
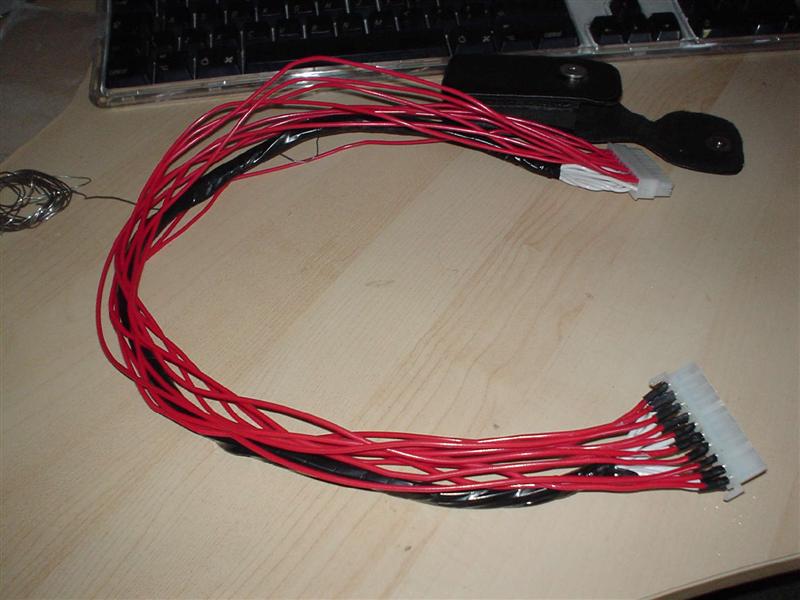
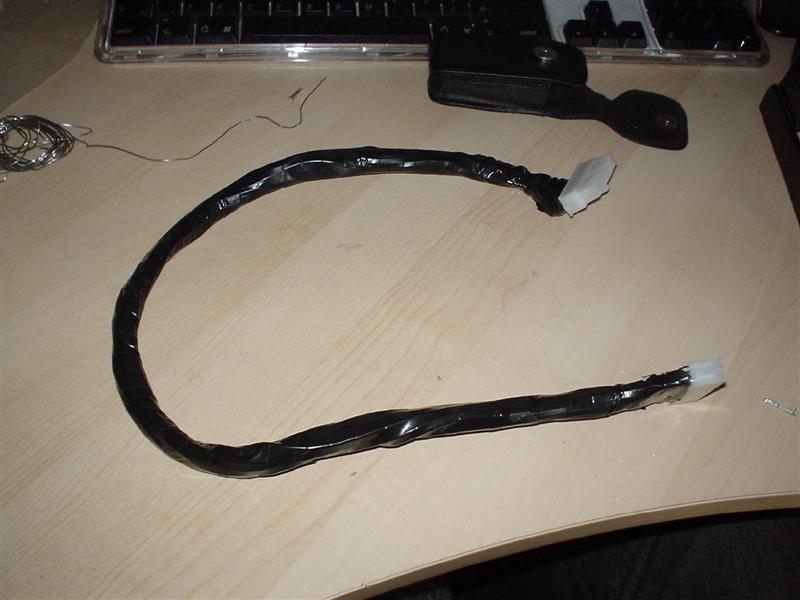
Due to the way that the case opens I needed to make an extra long PSU cable, I sourced a male and a female atx connector and set to work soldering all the wires required. Its long and boring work but it was cheaper than buying one. I wrapped the finished cable in black tape to make it look at lot nice. I also extended the p4 connector to reach the motherboard.
 |
 |
 |
Switch Gear
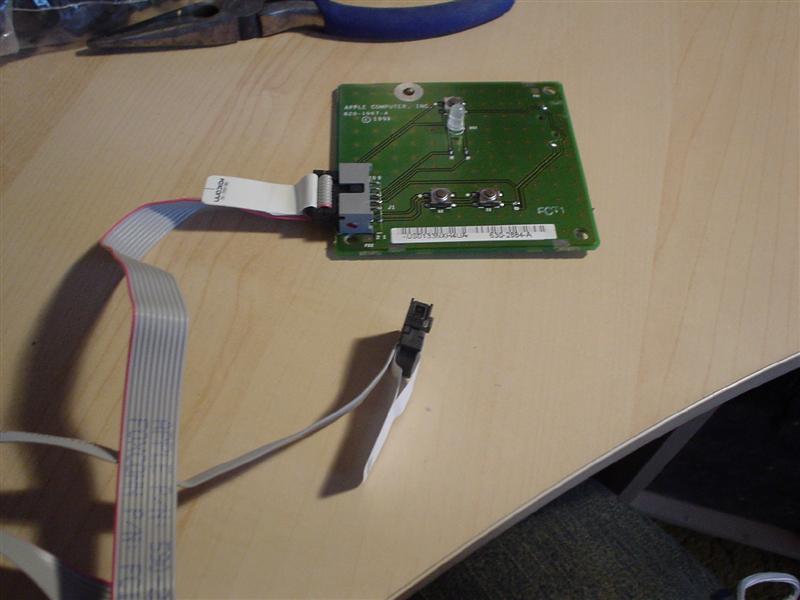
I wanted to use the existing switches to keep the case looking as standard as possible. The existing switch circuit is setup for the mac and requires alteration for pc use. I tried to convert it but it wasnt very succesful so I ditched the circuit and bought some cheap push to make switches. And set about making an aluminium plate to hold them in place.
 |
 |
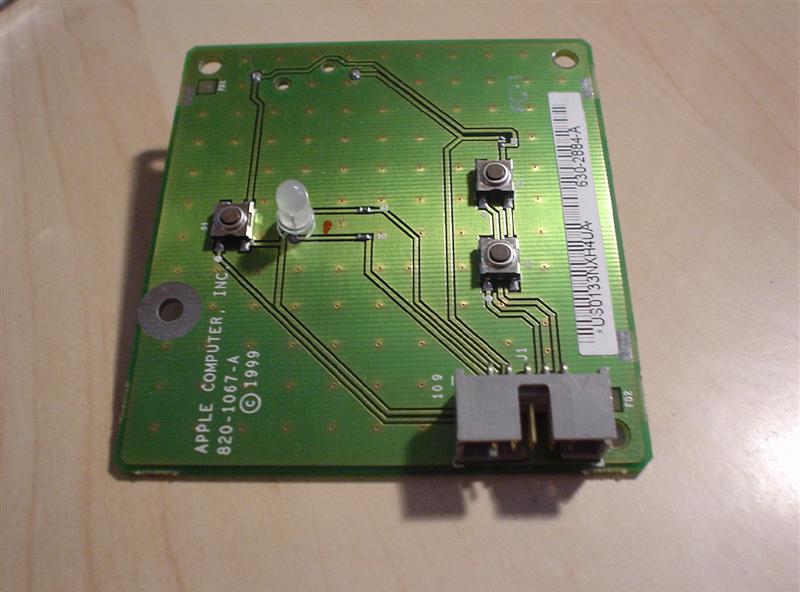 |
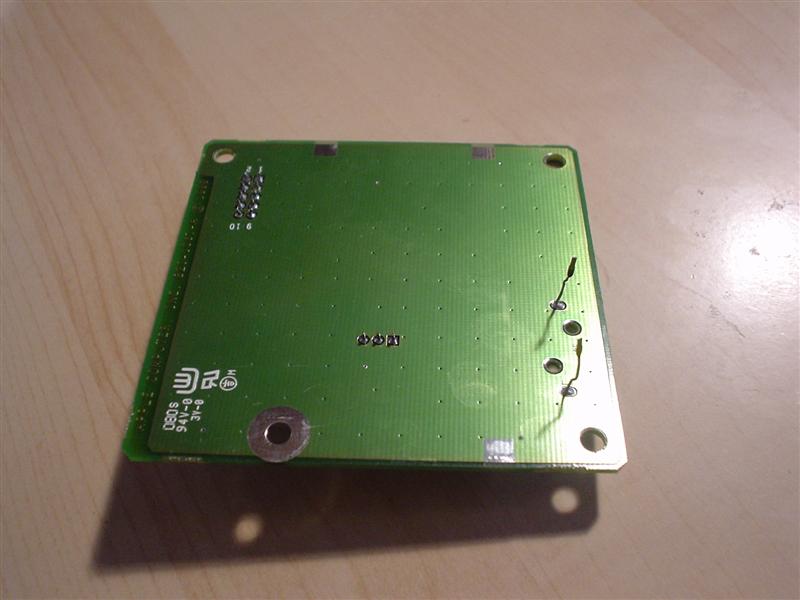
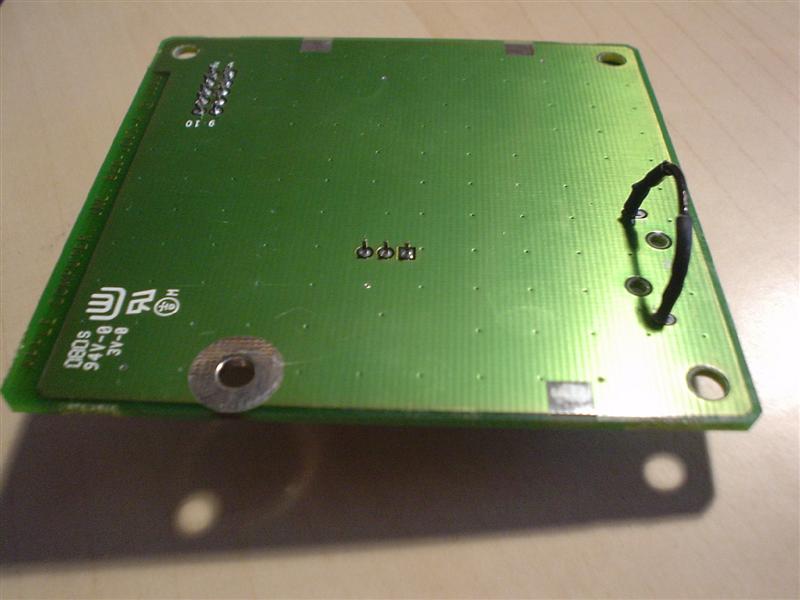
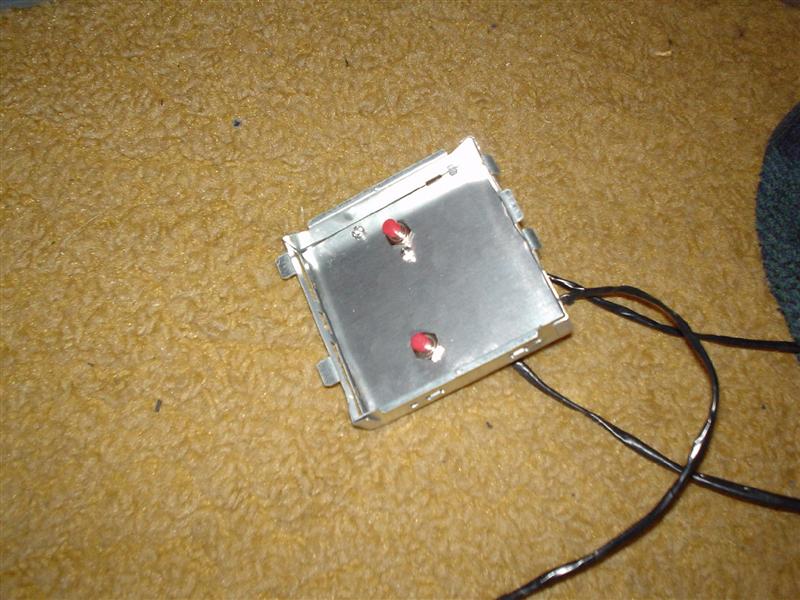
Here is the stock circuit, its mounted inside a steel square which clips into place. On the back there was a reed switch which disables the power buttons when the case side is opened.
 |
 |
 |
I bypassed the reed switch entirely and tried some modification of the orginal ciruit but it didn't work.
 |
 |
 |
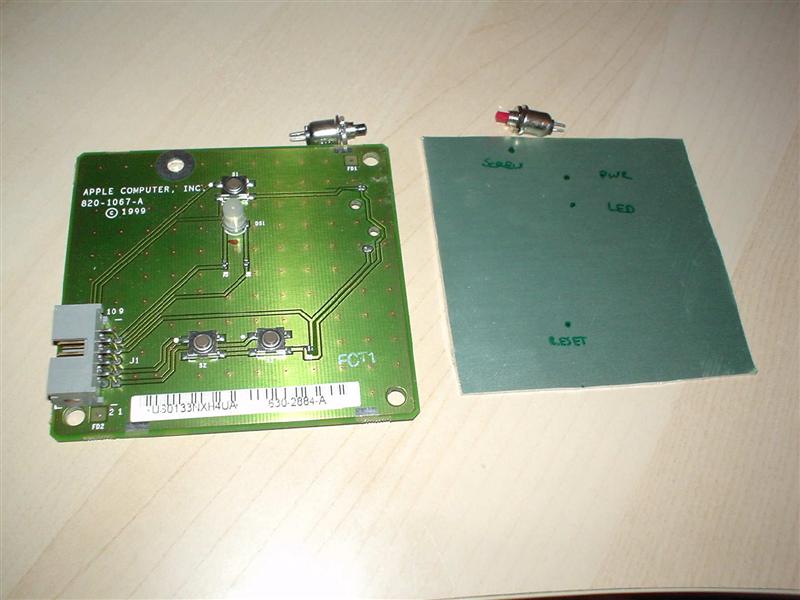
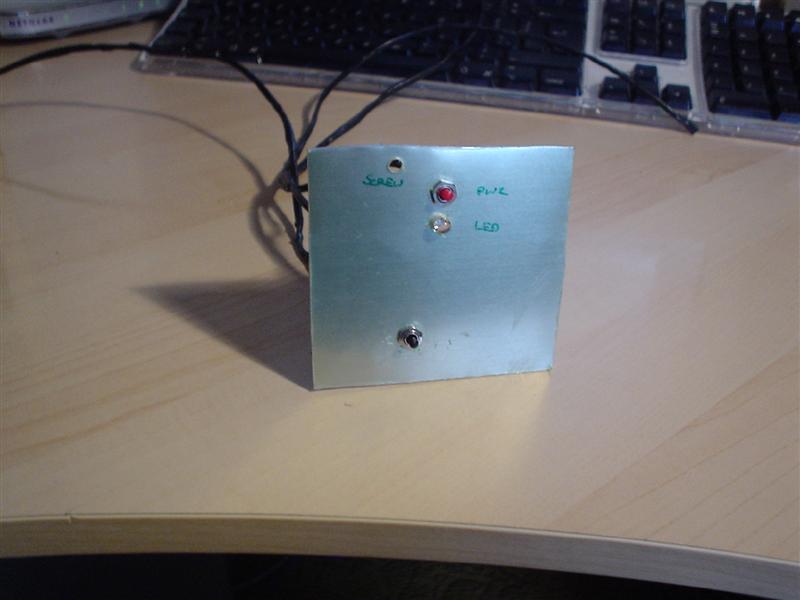
Here's the alternate switch setup, I made a sqaure of aluminium and drilled the holes for the two switches and the LED.
Finshing touches
With all the modding done it was time to put everything into the case and boot it up for the first time. It worked fine with the side down, booting first time. However, when I closed the case the system shut itself down straight away. I quickly found that the motherboard was shorting out on the square of metal keeping the plastic section used to open and close the case in place. I used some tape to insulate the piece of metal and it was all sorted. I took the perspex panels off and gave them a good scrub down in the bath and then removed the fine scratches with Novus polish.


