Physical exam
The 1U4500 comes in a sufficiently protective box to prevent any damage to it during transit. We dare say that it could be shipped populated with hard drives, although some HDD manufacturers can be a bit pedantic about how their disks should be moved around.
Outside
Long, wide and short; that's a 1U chassis for you. The four HDD cages span the front of the system, one hidden behind the Thecus LCD display, which can be rotated out of the way to provide full access.
On the front there are four status LEDs, along with power and reset buttons. With these the system can be powered up, shut down, reset and set to factory defaults. Security-wise, is it a bit too easy to do this? We'll let you pass judgement. Four more buttons make up the input for configuring the 1U4500 via the LCD display. This is protected by a 4-digit PIN... but then there is always that reset button. Finally, there's a USB port on the front, should a quick backup of a USB mass storage device be required.
Around the back we have, starting from the left, a single 1U PSU, two USB ports and an eSATA port, a B-type USB port, an RS232 for a UPS and the LAN/WAN ports. Note how there's space for two PSUs, as would be present on the 'R' model. With the USB and eSATA ports, extra drives can be attached and accessed. We're not sure how useful USB ports are around the back of the 1U4500, but the eSATA connection might be handy. Unfortunately, the eSATA port will only work point-to-point, which means you can't stick a port replicator on it and have a second external array powered by the 1U4500.
The B-type USB port allows the 1U4500 to be accessed as a mass storage device by another machine. This feature is useful on some of Thecus' other products, but not so much on this one, particularly given that the storage area accessed via this route is independent of the rest of the system and is quota limited.
Bundle
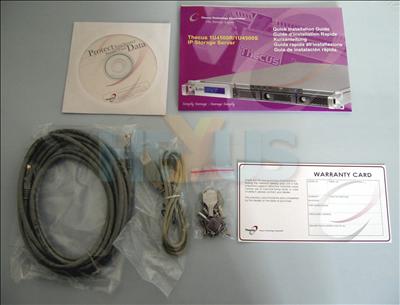
The kind folks at Thecus provide a sufficient bundle, including a power cable (not pictured), setup CD, a nice and big quick setup guide, along with keys and screws for the drive cages. Also included is a USB A-to-B cable, if you really need it, along with a CAT5e cable, although any good rackmount cabinet will have custom-length cables cut between servers and the patch panel/switch... right?
Inside
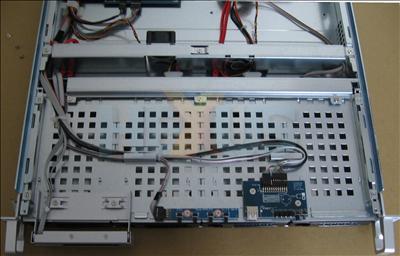
Getting at the guts of the 1U4500 is as simple as getting into any regular chassis. Simply remove four screws and slide off the top panel.
Et voila! Here the top of the disk-drive housing is visible, along with the PCBs for the front panel buttons and LEDs.
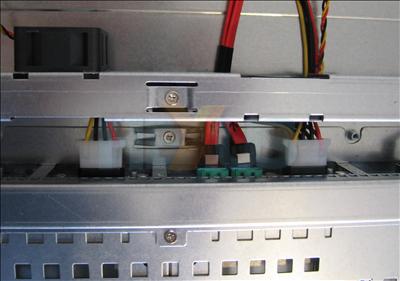
Two molex connectors provide power to the four hard drives. Two 40mm fans sit just behind the SATA backplane to provide cooling. They're noisy buggers, but they'll go nicely with the other umpteen fans in the cabinet.
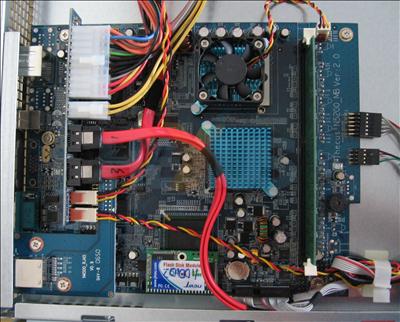
The motherboard area of the system is bordering on sparse, the board itself occupying just one corner. Check out the motherboard for the N5200. Thecus' latest N5200 motherboard will sit in either an N5200 or the 1U4500; it's just a case of changing the daughterboards. The fan in our 1U4500 cools the 1.5GHz Celeron M; the N5200's 600MHz Celeron M needed no such fan.
512MiB worth of good ol' TwinMOS chips provide the RAM for the 1U4500 - that's more than we've seen in any other Thecus product, so, hopefully, it'll keep transactions speedy.
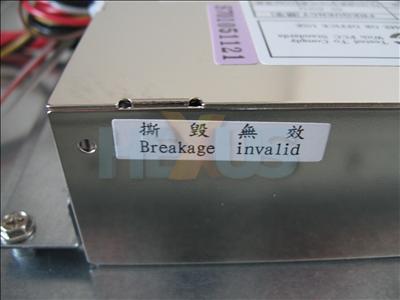
Don't break the PSU or it'll be invalid... 'nuff said.
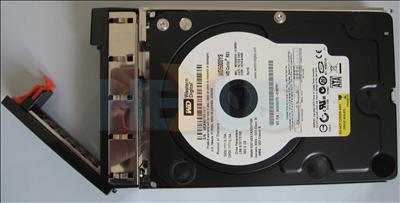
We populated the NAS server with four 500GB Western Digital hard drives, with a little help from CCL. Installation is a doddle; just screw them into the cages, then pop the cages into the chassis.
Thoughts
Physically, the 1U4500 passes inspection. Swapping out hard drives is easy. Getting inside the chassis (if you need to) is easy. Resetting it is (well, a bit too) easy.
A few of the connectivity options seem surplus to requirements, like client USB mode, but Thecus is using this motherboard in more than one of its products, which we hope makes the 1U4500's price a bit lower, so we're fine with that.


