Installing and running
We've covered the Hydrocool unit and the accessories required to complete the system. Now we'll look at mounting and completing of the kit's installation.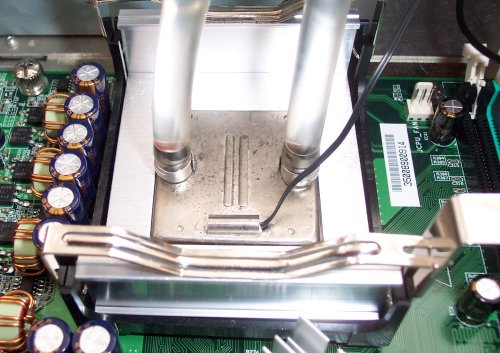
The easiest method of attaching the block to the CPU on a P4 system is to have the tubing connected to the block beforehand. Then one needs to pull the retention bracket system through the other end of the tubing and push it over the block, because it only fits on this way. Lastly, it needs to be secured via the two retention bracket clips. The whole system installed easily on an EPoX 4PDA2+ Springdale board. Of course, one should test the system outside the confines of a case to ensure that all's well. Testing for leaks is an integral part of any watercooling system. A positive aspect of this block is its ease of attachment. You don't have to remove the motherboard from the case for either AMD or Intel-based machines.
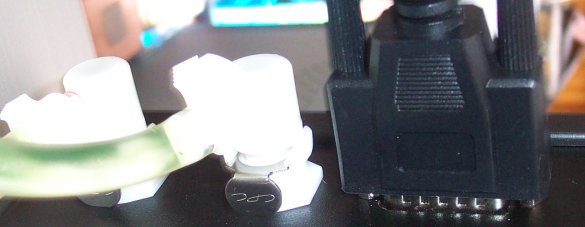
The back of the Hydrocool with a little additive added.
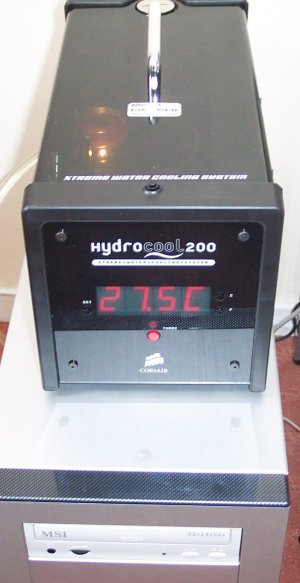
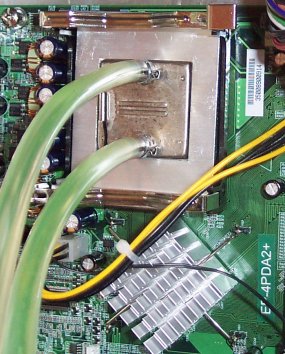
Getting the system up and running is just a matter of filling the reservoir and waiting for the water to propagate through the entire system, whilst waiting for air bubbles to disappear. It's important to note that only distilled water and additive should be used. The intelligent Hydrocool display informs you whether the system needs extra filling, and switches off if a lack of water is detected. You can clearly see the lit flow meter to the left of the handle.
The front displays the block probe's temperature in either Fahrenheit or Centigrade, the level of internal liquid, and also allows the user to set various alarm levels, which allow the system to be shut down if the temperature surpasses preset levels. What we don't like is the fact that the temperature readings are taken from the probe on the back of the block and not from the CPU. Corsair openly admit that the block's readings can be up to 15c lower than the CPU's. However, Corsair are adamant that the block's temperature is a consistently 15c lower than the CPU's, and BIOS readings at various voltages seemed to corroborate their assertions.
The system boots with the Hydrocool in full-blast mode. The fan then slows down to an almost acceptable level, yet the overall sound profile is a little too loud for our liking. That's probably due to the noise emitted by the fan and pump in tandem. The Turbo button cranks up the 120mm fan to full tilt. Performance, obviously, will be a little better but at what cost ?. The noise profile of the Hydrocool becomes a little unbearable at close quarters. We wouldn't like to sit next to the Hydrocool in Turbo mode for extended periods.
Before we began benchmarking the Hydrocool we tried to get as good a contact between the block and CPU as possible. No matter how carefully we attached the block it made very poor contact in the middle. The picture below will explain all. Corsair recommends that you use the entire tube of their thermal epoxy to resolve this situation.
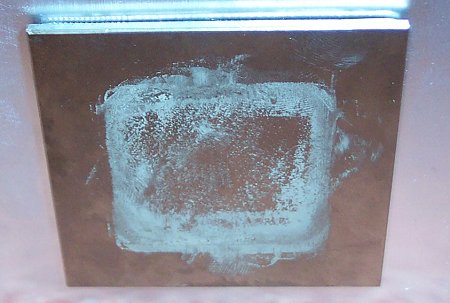
Note the lack of AS3 in the middle, yet a smattering around the sides. A poor contact is a major cause of poor performance. Please bear this in mind when viewing the benchmark results that follow.


