Internals II
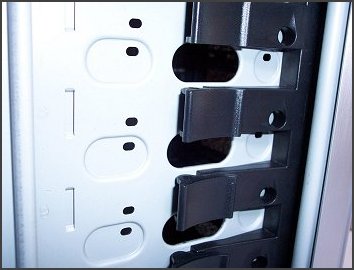
See the black plastic levers on the right? They retain your drives, or drive bay convertors, after you've attached drive rails to them. Attach the rails, slide the drive in from the front of the case and close the lever (as they are in the photograph). A plastic hook slots itself into one of the notches in the drive rail, securing it to the case. Enough sets of drive rails are provided to completely fill all the available bays.
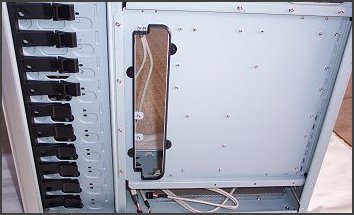
Looking from behind the case from the right hand side, after the panel has been removed, shows you the gap that the X-Flow fan channels air through. The fan attaches on the mainboard side, damped from vibrations by a rubber gap surround.
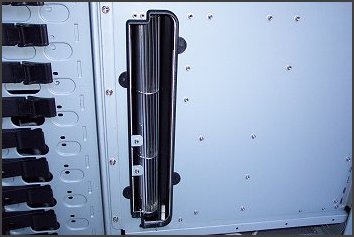
You can see the X-Flow fan attached. The screws it uses are slightly too big, as shipped by Cooler Master with the review sample, but it appears they're the correct size in all retail examples. The fan pulls air through the gap and blows it across the mainboard towards the back of the case. It moves air at a fearsome rate, even on its slowest setting (you get a fan controller for it, pictured here), without making much noise at all and barely a whisper on the two slower settings.


