


Inside the H-Frame
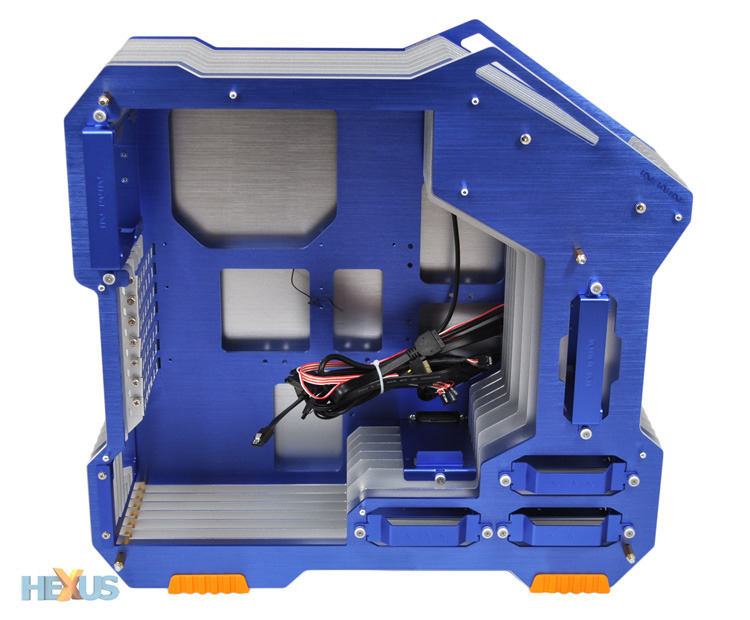
Seriously, how cool does the H-Frame look with its side panel removed? Revealing lots of blue and plenty of chiselled aluminium, it looks more like a work of art than a PC enclosure.
We'd quite like to use it with the side panel permanently removed - but the stand-offs for the thumb screws do protrude a fair distance, and they detract from the overall design. Interesting to note, also, that the rods that pass through all the aluminium plates can be pulled out, allowing the entire chassis to be broken down into a few sheets of metal. Useful to know, as you may enjoy piecing together the entire jigsaw, or you might have a custom paint job in mind.
But again, while the H-Frame looks fantastic, it isn't the most expansive interior and your configuration options are limited. Micro-ATX and ATX motherboards are supported, but anything bigger isn't, there's a mesh insert lining the roof of the chassis but no room to attach a radiator, and there are only two fan mounts.
Still, there's adequate room for a high-end ATX build and the way In Win has integrated certain components is both smart and beneficial to the chassis' overall aesthetics.
 |
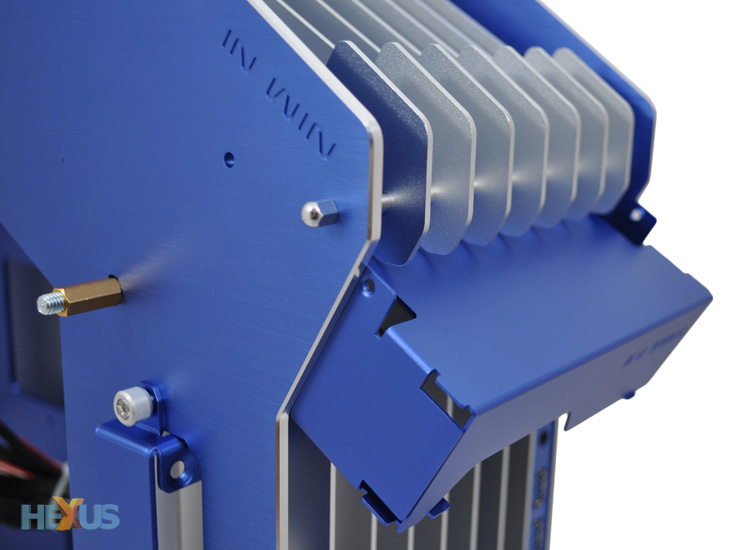 |
The fan mounts - one middle-front, one top-back, both of the 120mm variety - are neatly-cut squares of aluminium that are held in place by captive thumb screws. They pull out to allow the user to easily insert a fan of his/her choice, but getting them back in can be tricky - the aluminium plates aren't quite perfectly aligned, so it takes a bit of a wiggle to get the inserts all the way in without catching. And, the fan mount is metal on metal, so if you are planning on adding a fan, you may want to consider some vibration-dampening rubber.
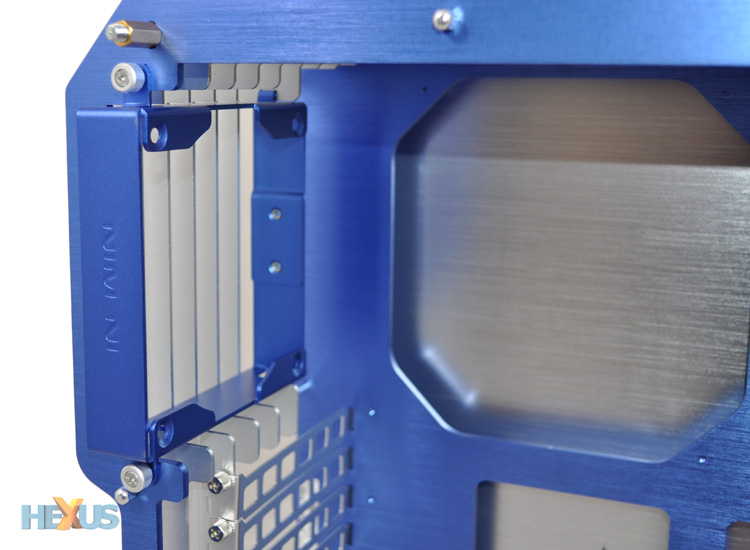
In Win's motherboard tray isn't removable (well, it is if you take apart the whole chassis) but there's a good-size cutout so CPU cooler installation shouldn't be a problem, and with the side panel on we reckon there's just enough room for a cooler measuring up to 160mm in height.
The 5.25in optical bay is cutely integrated, too. Undoing two thumb screws allows the tray to slip out, and you simply flip it over, screw in your optical drive and then slide it back in. Loading the tray at an angle didn't present any issues, and we actually like not being able to see the drive from above - it prevents it from spoiling the design.
 |
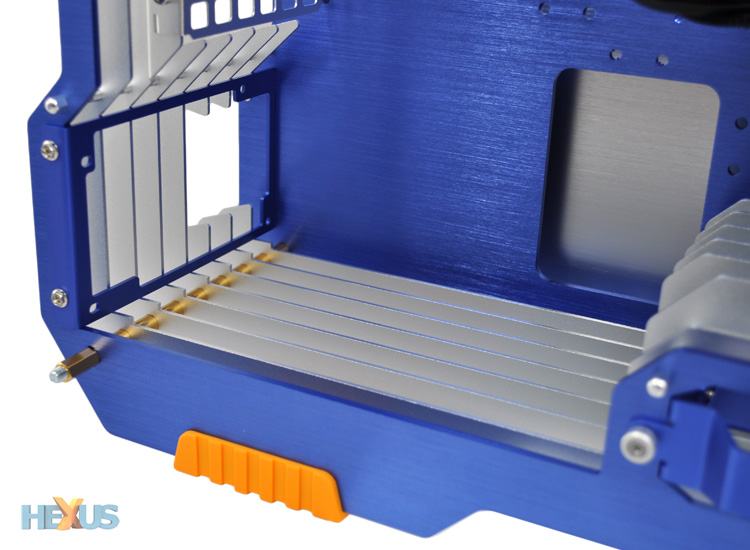 |
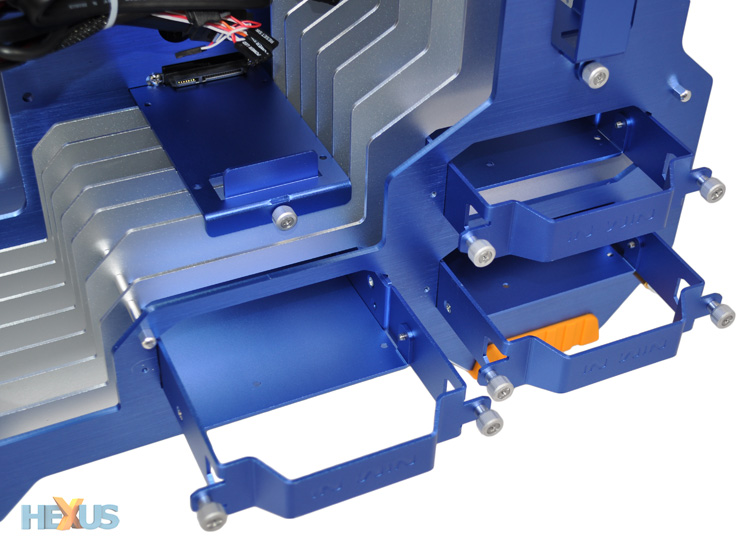
Pull-out aluminium trays are also used for all of the H-Frame's storage bays. The three 3.5in trays can accommodate 2.5in drives if need be, but again there's no effort to dampen vibration so the noise generated by mechanical hard drives could be an issue. What's particularly nice, though, is the dedicated 2.5in bay that sits in full view for you to show off your precious SSD, and we definitely appreciate the fact that all four storage bays are pre-plumbed. Around back, SATA data and power cables are hard-wired into the system, making it easier to hook up each drive.
The power-supply bay is housed in the bottom corner and there's a good amount of room for even the largest units, though it can be a squeeze trying to attach and remove modular cables. What's handy, however, is that In Win includes a couple of rubber pads to cushion the contact between the PSU and the chassis.
 |
 |
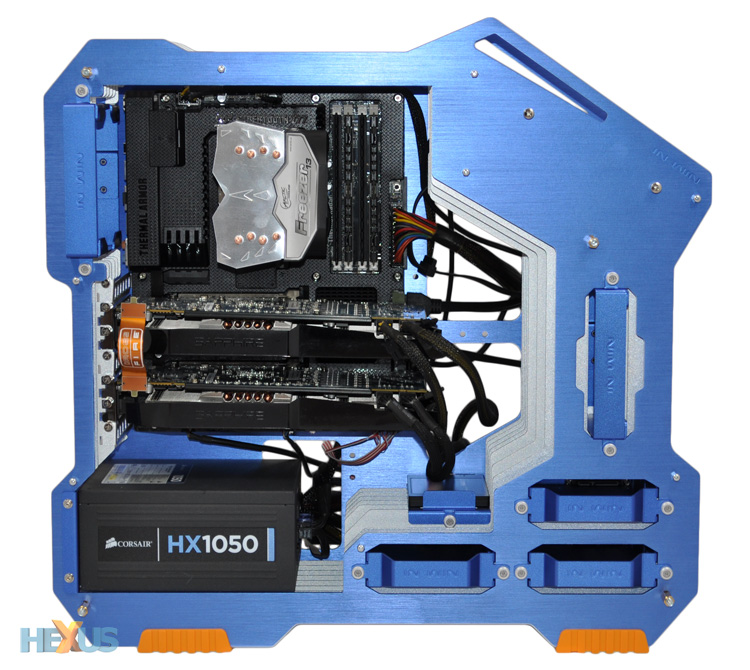
The H-Frame's general layout is logical and the design contributes to an easy and relatively problem-free build. Our high-end test platform consists of a Sabertooth Z77 motherboard, an overclocked Intel Ivy bridge processor and two Sapphire Radeon HD 7950 OC graphics cards, but it all slots into place comfortably and looks the business.
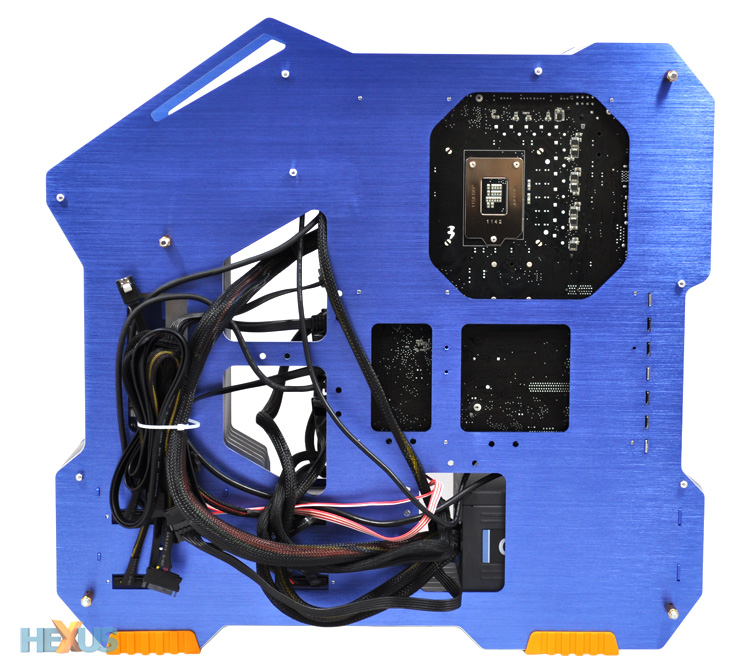
We've opted not to fill out the chassis' two vacant fan mounts - so the CPU, PSU and GPUs are cooled exclusively by their own fans - and, as pictured above, there's ample room for a multi-GPU configuration. But the build process isn't completely free of niggles. There's no way to route the CPU power connector over the top of the motherboard tray (unless you decide to go up and out the chassis) and there isn't a great deal of room between the back of the motherboard tray and the side panel. Having SATA power and data cables hard-wired to each storage bay means there's a fair amount of cabling to store, and we struggled to attach the side panel; the cables had to be spread out in order for it to fit.
When it's complete, the H-Frame looks awesome, but it's a shame it doesn't have a transparent window to show off the interior, and there's no getting around the one big if; £300 is a lot of money for the sake of looking cool.


