


Simple setup
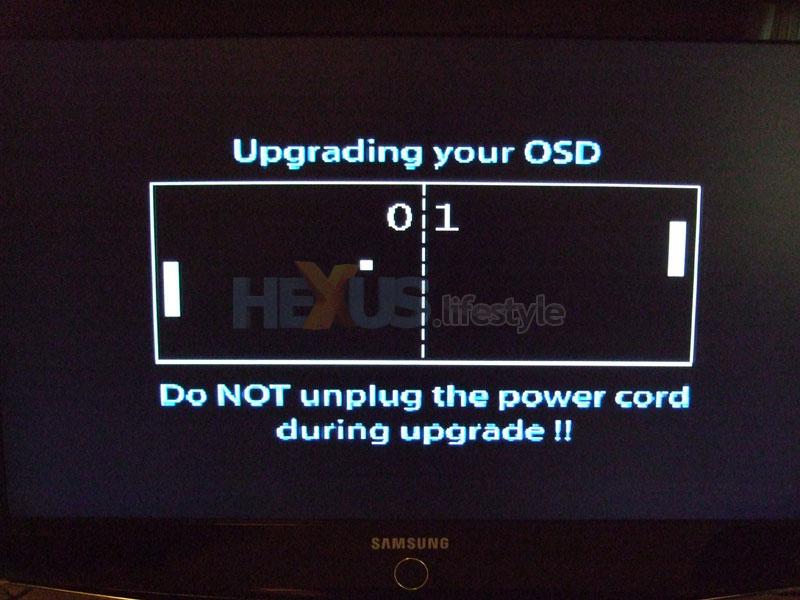
As Neuros recommend it itself, we'll start with the firmware upgrades. The constantly evolving device receives firmware updates on a regular basis to enhance already existing functionality, or indeed add new functionality which is often contributed by the community. Opting to perform my firmware upgrade automatically, I connected the device to my router and off it went as it carried out the upgrade process. Taking approximately 10 minutes to complete, it's quite a lengthy process. Probably aware of the time taken, a game of Pong is displayed on screen during the upgrade and no, you can't actually play it.
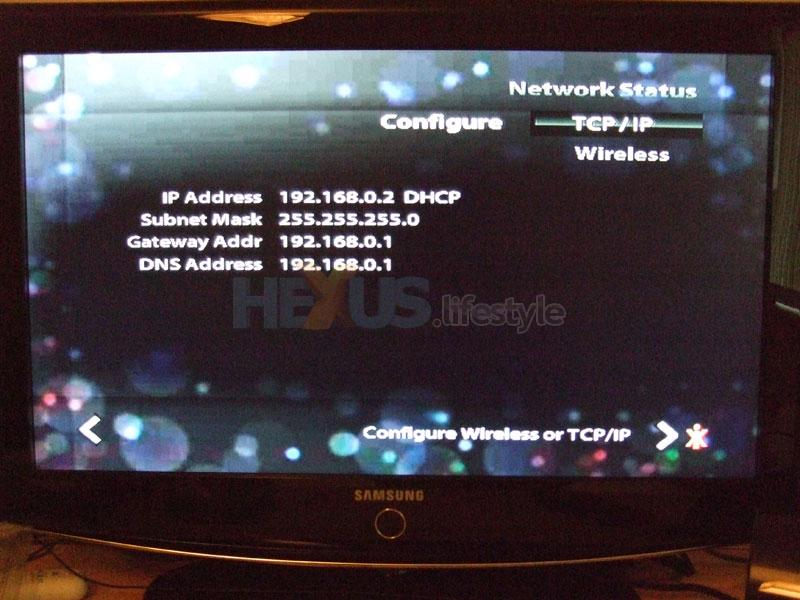
Connecting the device to the internet, or a home network, is one of the first things most users will want to do and the process is very simple. If you're using a DHCP network, just plugging in your OSD will do the trick. If you prefer to define a static IP, the option is available to you.
One connectivity issue worth mentioning is that the OSD doesn't come with built-in wireless. Given the OSD's £160 price-tag, you may have hoped that wireless would be an included feature. It isn't all bad news on the wireless front however, if you can't live without it, a wireless bridge can be attached to the OSD and the latest firmware does provide configuration options for such a setup.
Another omission is that of a power button. The only way to turn off the OSD is to remove the power cable. Neuros state "The OSD draws little to no power when it is not being used and the heat generated by the OSD is negligible. If you are truly concerned about leaving it on, you can simply unplug it, but this really isn't necessary". That said, I still prefer a power button myself.


