The Interior - Drive Cages and Main Interior
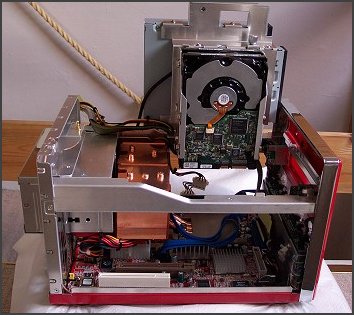
In a completely assembled ZMAXdp you can't remove the drive cage from the unit, rather it cleverly hinges out to reveal its contents. As cabled up by Armari, it was possible to swing the entire assembly out after removing only the power connects for the DVD and floppy drive, which are attached to the graphics card's power cable. All other cables can be left connected since they've got plenty of slack in their lengths.To allow the cage to swing out, you simply undo two retained thumb screws on the left and right edges of the cage assembly, as you look at it from the top. Then you slide it back slightly, towards the rear of the unit, then lift it up.
The picture above shows it free-standing, secure since it drops back into the metal frame slightly, showing the disk cage suspended from the rest of the cage assembly. The disk cage is removable, as you can see in the following photograph of the free-standing cage.
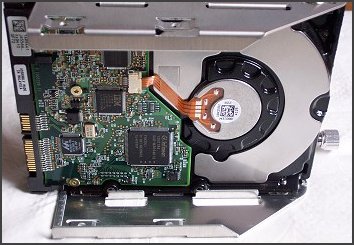
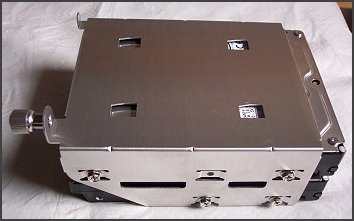
You separate the disk cage from the main assembly by undoing a single thumbscrew. Four hooks on the underside of the main assembly hold the unit in place, hooking through the top of the cage. Here's the cage, containing a single disk after I've removed one of them. You secure drives with four regular Philips screws, after sliding them into the cage, as you would with any other SFF system.
If you don't need the services of a device that needs the external 3.5" floppy bay, you can fit a hard disk in there too, for a total of three possible standard 3.5" disks. You can see the hook spaces on the top of the cage in the photograph below.
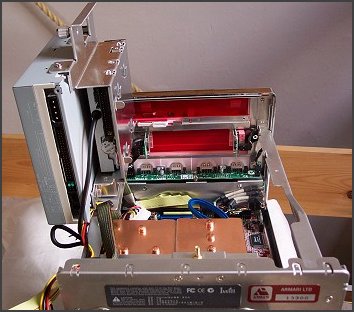
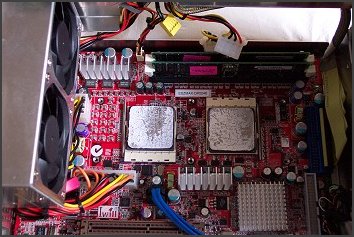
With that cage removed and the main cage swung out, you get a great view of the interior.
The dual heatsink assembly dominates the main interior space, both in terms of size and appearance. As well as the heatsinks, you can see the nForce3 250 ASIC under the square heatsink at the bottom right of the picture, as well as smaller heatsink on the CPU's Vreg circuitry to keep those parts cool. You can also see the blue SATA data cables that connect to the sole pair of SATA ports on the mainboard, just behind the AGP port in that picture, obscured by the large, lower heatsink.
That the mainboard only has two SATA ports means that you can only connect two SATA disks to the ZMAXdp at once. If you're using two internally, as I am, you can't connect the rear external connector to anything, making it redundant. Plan your disk connectivity carefully, if you plan on using that rear SATA port.
Otherwise, you've got a pair of regular PATA ports, one of which comes pre-cabled for an optical drive, sat on the right hand side of the picture above, underneath the front-mounted USB2.0 port connectors, on their own PCB. There's also a floppy port connector on the mainboard too, near the PATA port connectors.
Add-in ASICs not discussed already run to a Marvell 88E1111 PHY for the nForce3 250's Gigabit ethernet controller, and a Realtek ALC655 audio CODEC that gives you the surround sound support.
Finally, the two DIMM slots, due to use of Opteron or single Socket 940 Athlon FX, only support buffered, registered DIMM modules. 2GB, 1GB per modules, is the maximum memory density available to the ZMAXdp, with the memory modules connected to the memory controller of CPU0, the one on the right.
With the heatsinks out, you can see the CPU sockets underneath.
Let's take a look at those heatsinks a bit more closely.


