


The Interior II
With the basic interior discussed (the PSU area at the back, the memory and PCI/PCI-E expansion slots, SATA ports and IDE connector and the CPU cooling area), it's worth turning our attention to the drive cage assembly and the installation of disk and optical devices.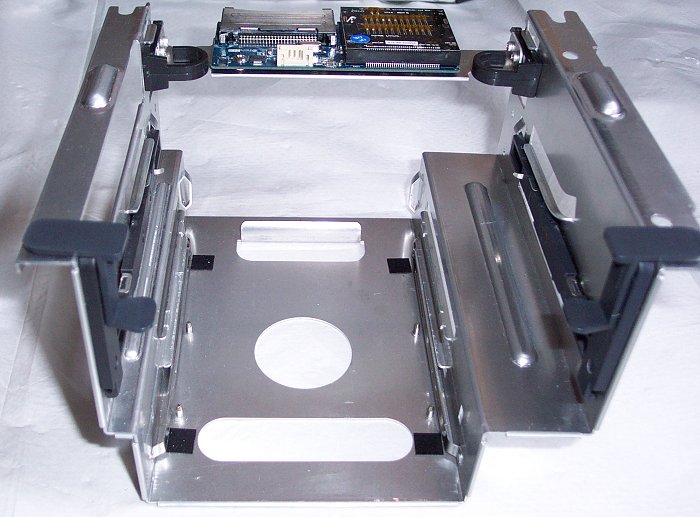
Click for a larger version (69KB)
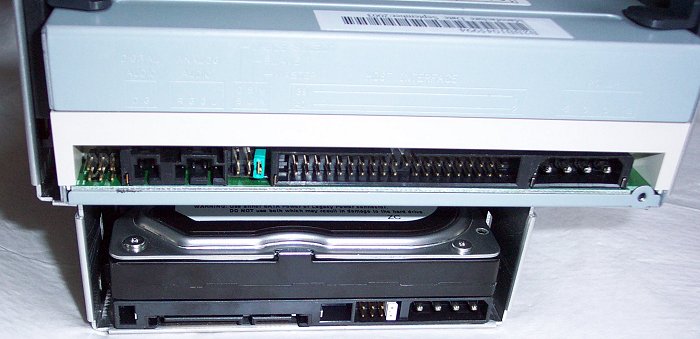
As mentioned before, the SB81P can accept three hard disks without modifications. Here's how it does it, tool free.
If installing a floppy drive instead of a hard disk, in the drive cage, you install pair of floppy drive rails to the drive and slide it in. The rails are screwless and just pop onto the side of the drive. Use the manual to find the correct orientation.
Installing a hard disk instead is simple. Simply snap it down onto the mounts on the base of the cage. No rails needed, no screws either. Just pop it on.
An optical drive is next. The drive cage comes preinstalled with the rails for an optical drive, so just remove those by sliding the vertical retention tabs up, pulling the rails out, snapping them to your optical drive and sliding it back in. It's very very simple.
Click for a larger version (52KB)
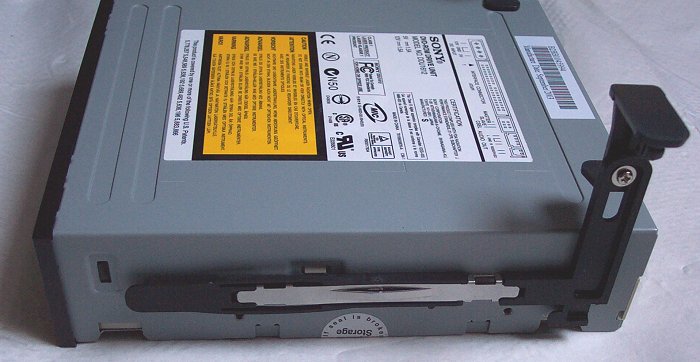
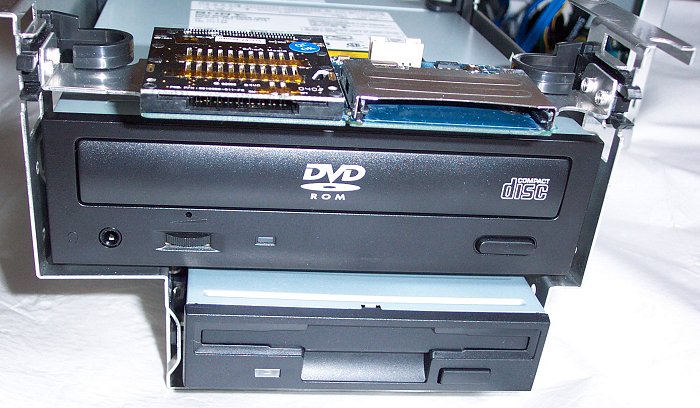
So with either floppy disk or hard disk installed in the bottom of the cage, and an optical device installed too, you'll get either this or this.
Then like other Shuttle XPCs, it's just a matter of slotting that back into the vacant space and hooking up the cabling for the installed drives.
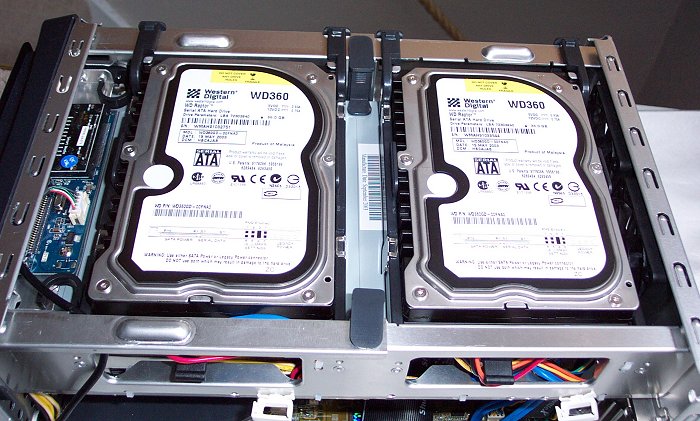
Assuming you have an IDE or SATA hard disk in the cage, there's room on top of the cage for a further two SATA drives, to be cooled by that new HDD cooling area.
Install a set of rails on each extra SATA disk you wish to install, then hook the hooked end of the rails into the spots on the drive cage and chassis, depending on what space you're using, then just lower it in and push the catches down. Again, tool free and a piece of cake.
Two extra disks installed at the top of the chassis looks like so.
Click for a larger version (90KB)
You just feed in the pre-routed SATA data and power cable pairs through the appropriate gap and into the sockets on the drive. Al the cables are pre-routed and held nicely out of the way unless you need to use them. It's Shuttle taking on board criticism about cable routing in previous products and getting it absolutely right. Air-flow is key to the P-series operating correctly, especially with the CPUs that the SB81P supports, and tidy cable routing is absolutely key to that.
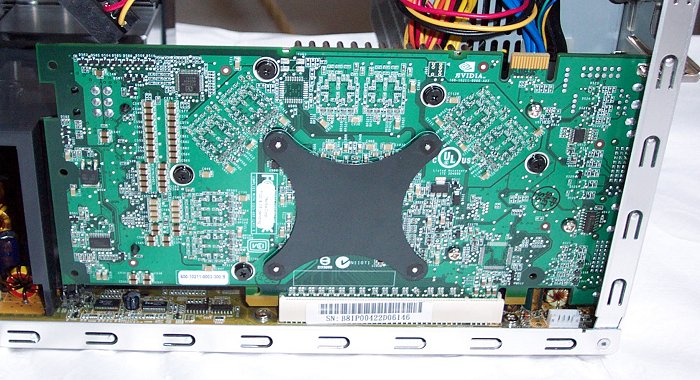
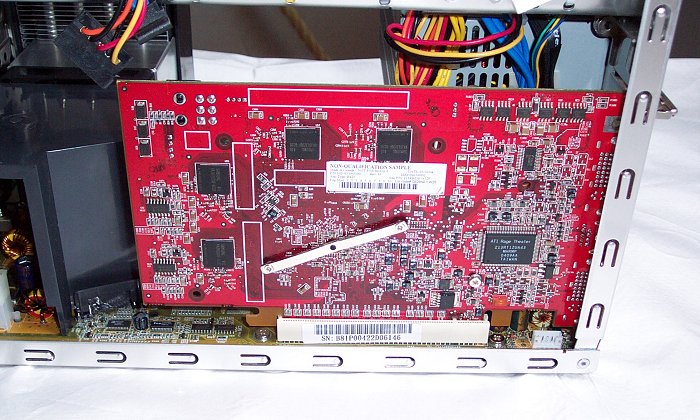
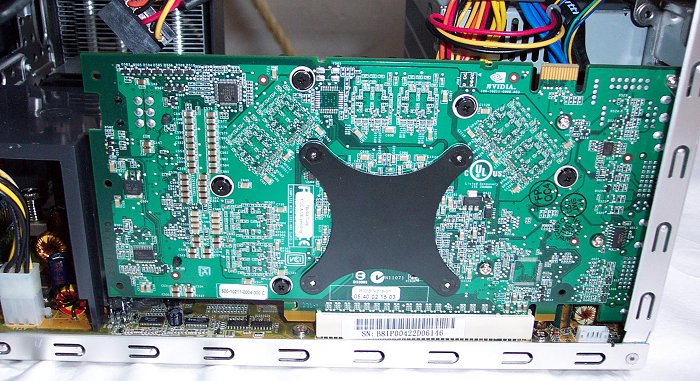
Finally for the interior layout, there's the issue of what graphics cards can be installed. At the time of writing pretty much anything can, be it 6800 Ultra, X800 XT, 6800 GT and the lowly GeForce 5900 PCX.


