Internal look and system construction
The LP791 takes micro-ATX motherboards. This gives it a huge advantage over chassis that take smaller mini-ITX boards in that there's scope for much more power. For the purposes of getting a system running in the chassis, we used the ECS RS482-M motherboard, recently reviewed here at HEXUS. It's a Socket 939 motherboard, so providing the chassis' PSU and thermal capabilities permit, any high-end S939 CPU could be dropped into this system. We used an Athlon 64 3200+.
Other components included an 80GB Seagate SATA hard drive, reference Athlon 64 cooler and an LG IDE CD-ROM drive. The exercise here is not in seeing how fast the system will be, but how easy it is to build a system into this chassis.
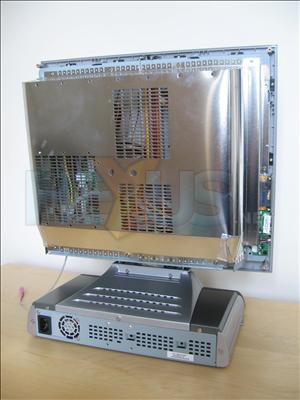
The first step to installation is getting inside, which begins by unscrewing and removing the back of the LCD casing.
This reveals the aluminium shielding for the system, which must also be removed. 14 screws later...
With the shield off it's clear how everything fits in. The low-profile backplane can be seen next to the 60mm fan. Towards the top-right is space for a 3.5" hard drive. The motherboard sits on fairly tall stand-offs because of the circuit boards beneath. Speaking of which, on the left the inverter and ADC for the LCD are visible. On the far right are the card reader and USB boards.
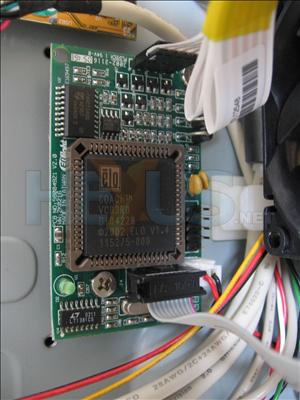
Next to them is this board, the controller for the touch screen. A diagram in the aforementioned bundle suggests that it's got USB and serial interfaces.
Hard-drive installation is easy, with one screw to remove the bracket. Once the hard drive has been screwed on to the bracket it can be put back into the case.
Installation of the mainboard isn't all that difficult. Get all the cables out of the way, put the insulating layer on, screw the board into place, then plug everything in. Be sure that none of the cables are running into places that are of no use; they may need to be rerouted to reach where they should. Hooking up the cables is the same as in any other case.
There's room for four low-profile cards. We didn't have any low profile-graphics cards handy, so we were stuck with onboard Radeon Xpress graphics. However, we could have added a wireless NIC and a TV tuner which we had nearby, both of which were small enough to fit, one of which even had a low-profile bracket.
With everything installed in the top compartment it's a bit messy. It's not easy to tidy the cables because there's no unused space in which to put them (in most chassis, I call that space, "Steve's special place"). Still, with a little bit of care horrific airflow blockages can be avoided.
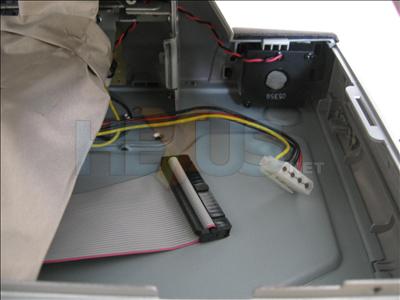
The trickiest part, as far as we're concerned, is fitting an optical drive into the base of the chassis. The special drive door requires that the existing door on the drive be removed (these usually come off fairly easily). We tried sliding the drive into place, but it was blocked by a lot of PSU wires. There's an adhesive sheath stopping the wires getting in the way, but some were still occupying space we needed. We had to remove the PSU to reroute the cables slightly before the drive would fit and even then it was extremely tight.
We did eventually get the drive installed. However, we'd recommend that you try to find a drive that's as short as possible (they do vary). Pioneer, for example, ships reduced-length drives that would be ideal in a situation such as this.
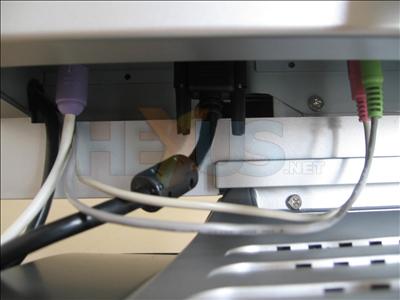
Finally, it's time to put the case back together and attach the external components. The system's microphone and speakers attach the I/O panel in case the motherboard doesn't have the required headers. The screen does the same for obvious reasons. It's quite fiddly to attach cables to the I/O panel of the motherboard because there isn't a lot of room, but patience is all that's required here.
Despite the installation taking a little longer than into, say, a full-tower case, it went reasonably smoothly, all things considered. We'd recommend that you attempt a build with this chassis only if you've done a few builds before, perhaps dealing with the fiddliness that is involved with small form factor installations.


