Inside Cont..
The left-hand-side of the motherboard contains one of my favourite on-board sound CODECS in the form of the Realtek ALC650. The ALC650 is an 18-bit, full duplex AC'97 2.2 compatible stereo audio CODEC. It natively supports full surround sound 5.1 configuration with a maximum of 6 separate or discrete channels (Left, Right, Center, SL, SR and Sub).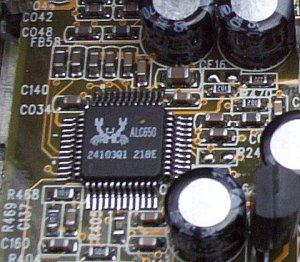
S/PDIF support is also provided by an on-board header connected to the front panel via an appropriate cable.
It should be obvious by now that this is a non-standard motherboard (Flex ATX). Being non-standard, we also need a PSU that can fit into this small form factor.
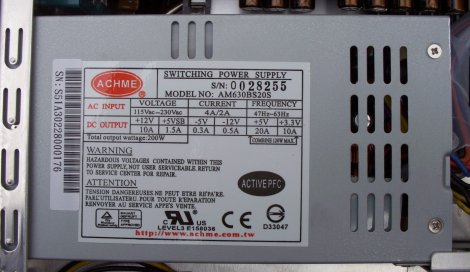
The PSU's 1U size belies the fact that it can push out 200W when required, plenty to drive thirsty AGP cards and a couple of hard drives.
I mentioned earlier that the cooler was interesting in its own right. Here it is in all its glory.
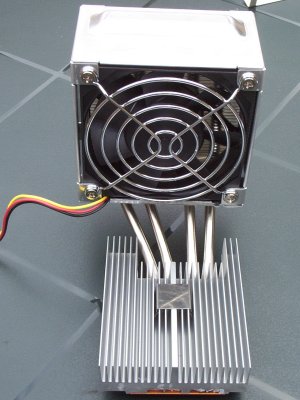
The heatsink itself is secured on to the socket by means of a clip. You'll notice that the fan is not perched directly over it as is the norm. The heatsink is connected to a radiator which is cooled by an 80mm Sunon fan. The cooling systems is based on that of a heat-pipe, the same employed by Coolermaster on some of their more recent coolers.
The fan is quite noisy, spinning at around 3750rpm in normal use. You can, however, turn on Fan Guardian from within BIOS. This halves the fan speed to a more palatable 1900rpm. The loss of sound is incredible as it becomes eerily quiet. The downside is the increased temperatures. Using a 2.26GHz NW B P4, and with 1.41v showing in BIOS, I was hitting 50c just idling in Windows. It would be fine for playing DVDs, however.

An additional card was included that sat in the AGP slot if you wished to use the on-board video with greater connectivity options. With S-Video and AV-Out, as well as DVI, this gives the end-user greater flexibility in managing their connections.
Taking the unit apart was a simple affair as long as you paid a little attention to what you are were doing. Re-assembling the unit was just as easy, all you have to do is plug back in what you took out in the first instance. The IDE cables can be routed so that no excess snag is allowed, giving better airflow.
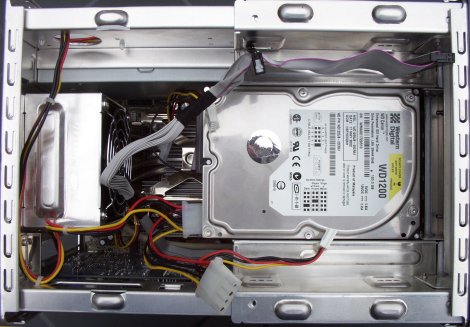
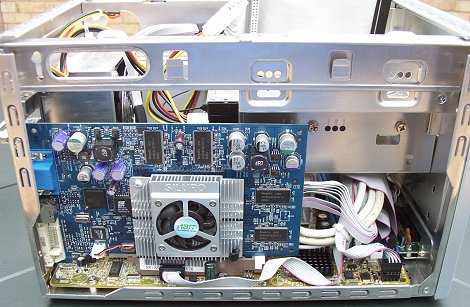
Here is the unit rebuilt back up with a GeForce4 Ti 4200 powering the graphics and a 120GB Western Digital providing the hard drive support. I added a DVD-RW drive later.
A 21cm IDE cable is included to serve as a conduit between a hard drive and the motherboard. To keep things in order, there's a small clip under the drive bay. Simply hook the cable into that and it stays out of harm's way. A rather stylish IDE cable with a twist in the centre (pictured above top) is also included. Again, this can fit in the aforementioned clip.
One personal gripe was the inclusion of a standard floppy cable, surely a rounded one would have been better ?. Cable ties, mounting screws, thermal paste, PSU lead, and a couple of excellent manuals that detailed the step-by-step installation of various items completed the package.
Software-wise, you receive a multitude of drivers for the various on-board fuctions. An on-board VGA driver ( for the SiS315), AGP, LAN and Audio drivers were included.
It looks good, is reasonably easy to dismantle and rebuild, can take the most powerful graphics card on the market, has a feature-rich motherboard, and weighs less than some new-born babies. Let's now see how it performs.


