


Slot Bus and other Mods
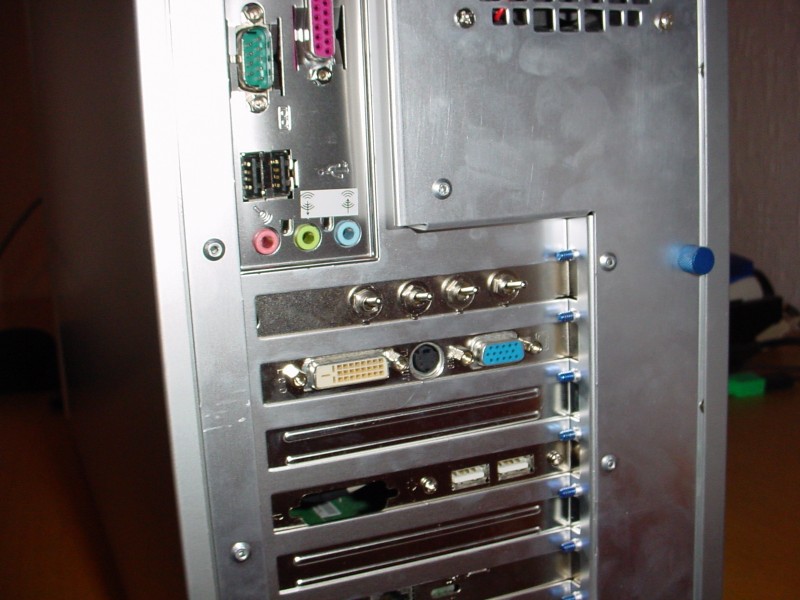
With all the cold cathodes that are in the case I really needed a way to turn them off at night to prevent them from keeping me awake. The most common option is to create a switchbus in a spare bay plate that allows you to turn them on/off. I don't like the look of them to be perfectly honest, they take up a spare bay and wouldn't have fit in the case due to the door. Therefore I need a way of mounting the switches, my first thought was to place them in the side panel next to the window, but I decided this would look silly. Then I remembered reading about a slotbus. The basic idea behind a slot bus is to use a spare pci blanking plate to hold the switches required. This was the perfect solution to my problem, the switches would be hidden from view and yet still accessible.
A slotbus is very simple to create you need to get hold of one switch per cold cathode , a spare pci blanking plate, a bit of wire and some heat shrink/ electrical tape. The switch I used is a very simple on/off switch part fh97f from Maplins. All you do is solder two wires onto the switches , heatshrinking or taping over the bare wire when done to prevent shorting. Next you hook the wires up to the power line of the cold cathode, again heatshrinking in place. After that you take a spare pci blanking plate and drill four small holes for each of the switches . Screw the switches in place and you are done , its just matter of routing the wires so they are tidy . It will take about 15mins at the most.
After I had completed the slotbus , I decided to add a 7v/12v/0v switch as well to control my fans this was just added next to the existing switches. To me it was the perfect solution to the problem of hiding the switches.
 Other Mods
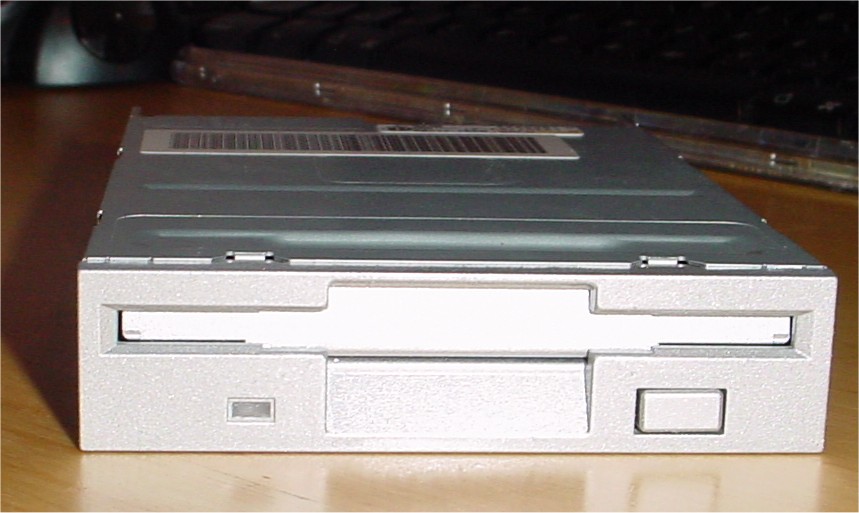
I was originally planning on not having a floppy disc at all as I haven't had one in a system for a while, but I got fed up of my housemates wanting stuff off my machine, or wanting something printing off a floppy. So I decided to put one back in this project. Of course a beige one will not do. So I got out the spray cans and set to work. What you need to paint a floppy fascia is the following:
- Nissan starburst silver spray paint
- Grey primer spray paint
- Clear coat spray can
- Some sandpaper. Fine grit
- Masking tape
I was never happy with the original rear grill on the case, I looked plain and ordinary which wouldn't do. So I decide to cut it off and replace it with a sun grill. Unfortunately the existing grill is a weird shape slightly larger than a sun grill in places. Anyway I got out some sharp wire cutters and set to work (aluminum is very soft so you don't even need a dremmel to remove the grill. It took 5mins and looks much better now as you can see.

Also replaced were all grills with sun grill lazer cut grills and all screws/thumbscrews were replaced by anodized blue ones which look much nicer. The front grills filter was removed and 2 sun grills place in front of the fans and 2 aluminum mesh filters behind. This gives great looks through the mesh with the cold cathodes lighting up the shape of the grills


