


Project Black Ice - Part 4-1
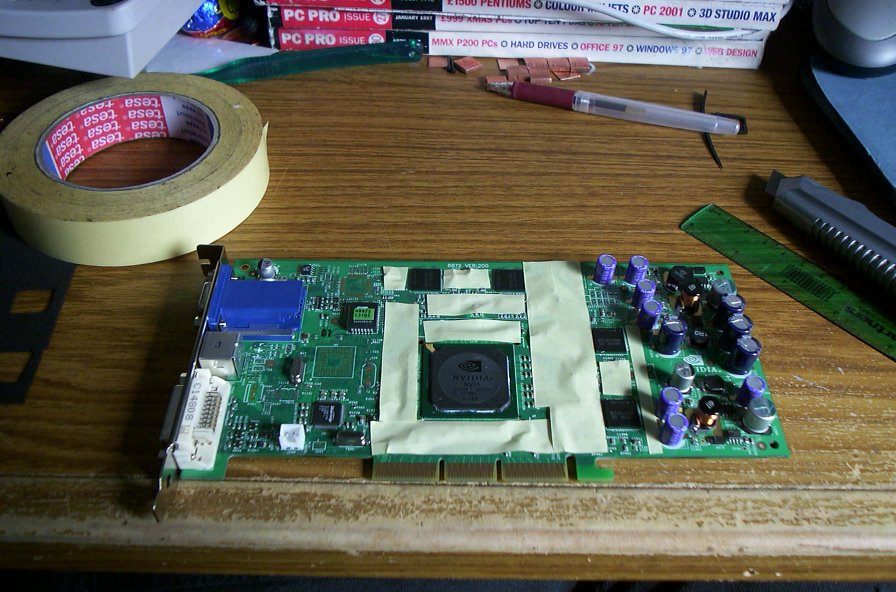
Welcome to the forth part of Project Black Ice. In this penultimate article I will cover the construction of the Geforce 4 cooling system. All the water cooling system construction will be shown, so lets get to work and tear that poor innocent card up:First things first, the card has to be stripped of its heatsink and the gunky heatsink paste cleaned up with isopropyl (propanol):
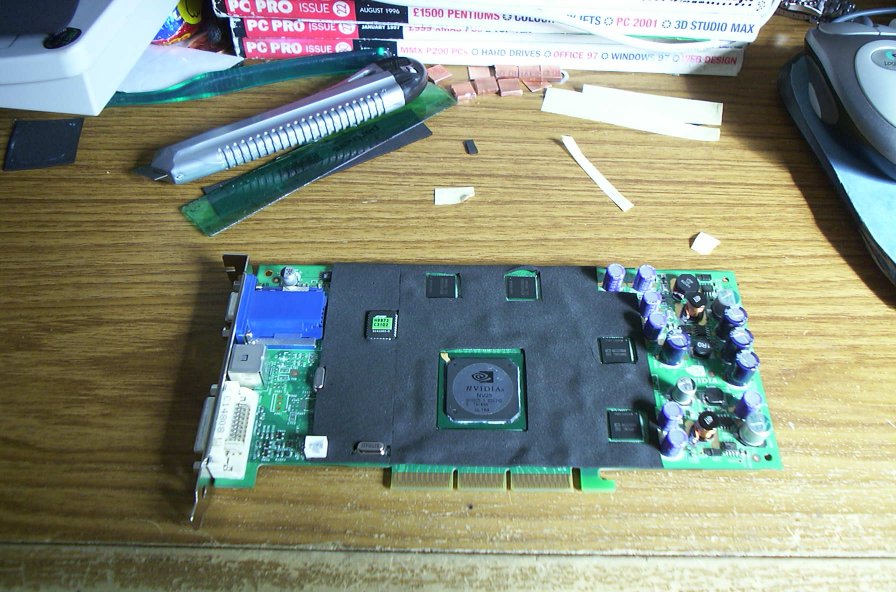
The yellow tape is a very strong double sided tape. The majority of the card is going to be covered with a thin neoprene 'underlay', so i have cut off thin strips of tape to stick it all down firmly. The neoprene underlay is in two pieces, it will only cover sections around the GPU and the ram - so squares have to be cut out. To ensure I cut out the holes in the right places, I pushed the neoprene sheet down onto the face of the card, allowing the ram and GPU to leave an imprint on the sheeting. I then quickly drew around the outlines and cut it out with a craft knife.
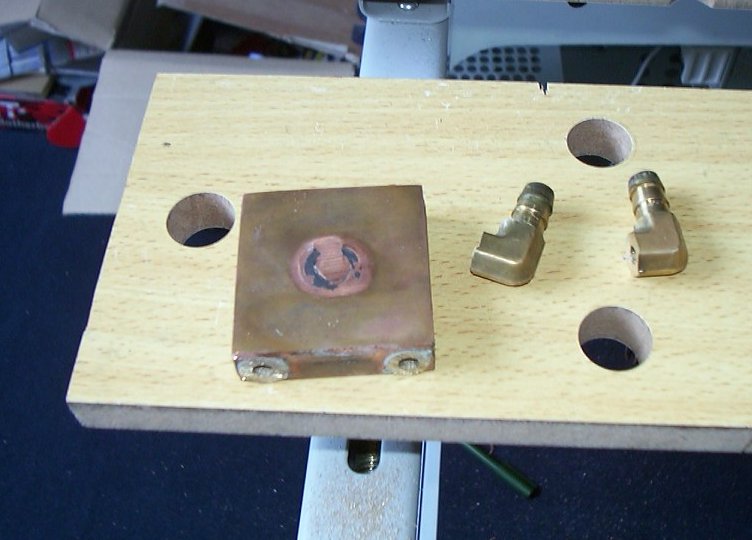
With the card semi-insulated I could now move onto building the water cooling system. I had an old socket CPU water block lying round, which would do the job nicely. The pipes to the block have to be long enough to extend past the edge of the card. I decided to use standard microbore copper piping to extend the length, and then solder the cut off brass barbs to the end of the copper pipe.
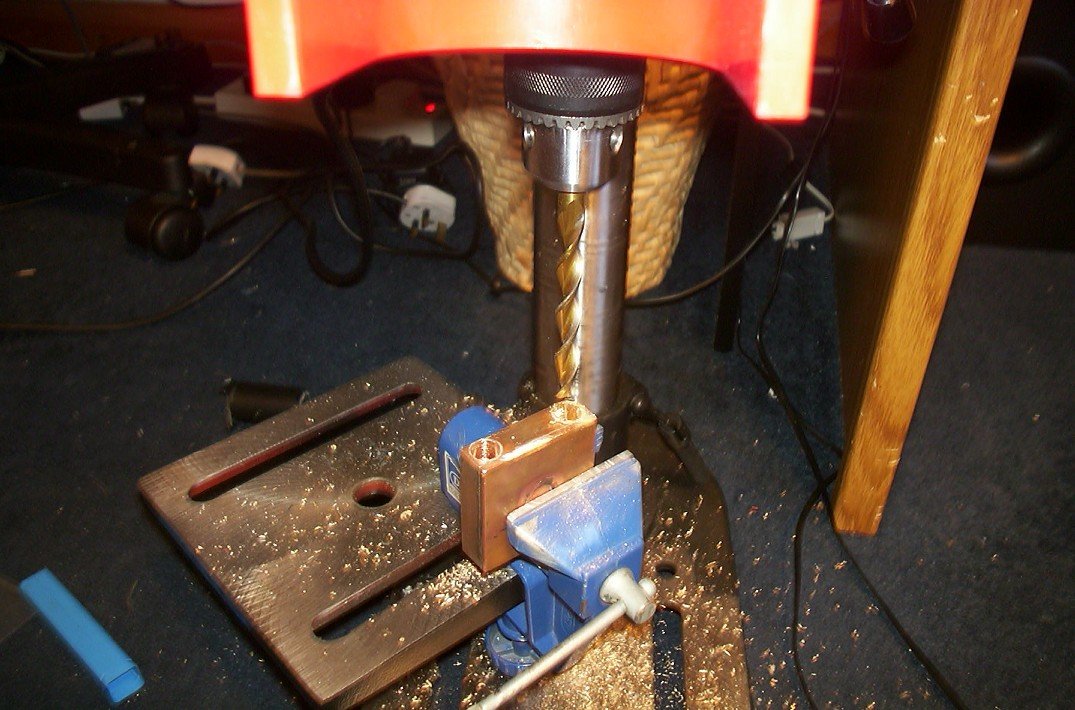
A pillar drill is essential for drilling large deep holes in solid copper. I used a special titanium high swarf output drill bit for the job - it quite happily chewed straight through the block.
With the inlet and outlet holes to the block expanded, I drilled out the ends of the barbs - so I could push the copper pipe into it.

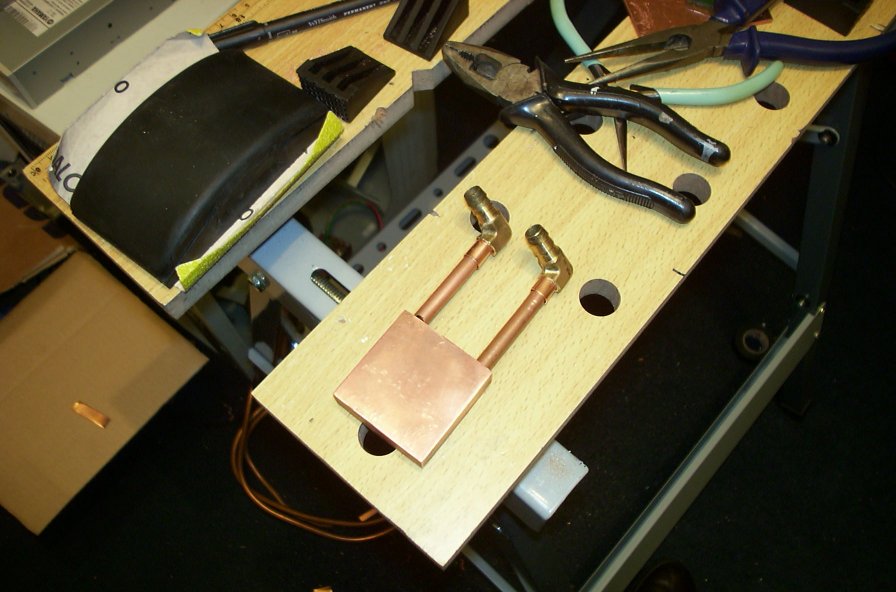
The block was ready to be soldered. If like me you don't have access to a blow torch, you can solder blocks up like this on a ceramic cooker hob. Its a bit tricky, but does work quite well. Don't be put off by how ugly the block looks when its being soldered - a quick blast with a wire brush wheel on a drill, some sanding and it will come up shining:

For the peltier's cooling power to freeze both the ram and the GPU a cold plate is needed. I cut a cold plate for both the front and back of the card, which extended from the GPU to cover the ram.
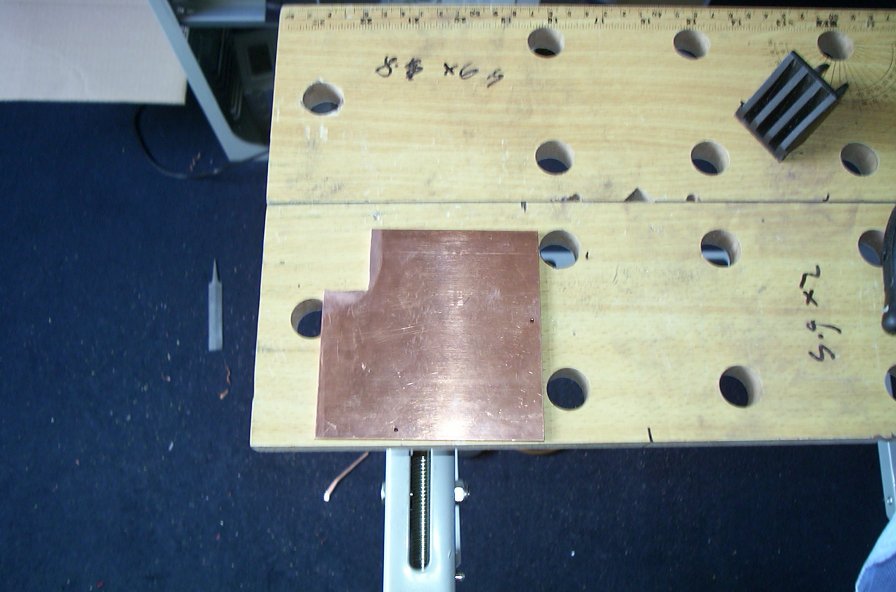
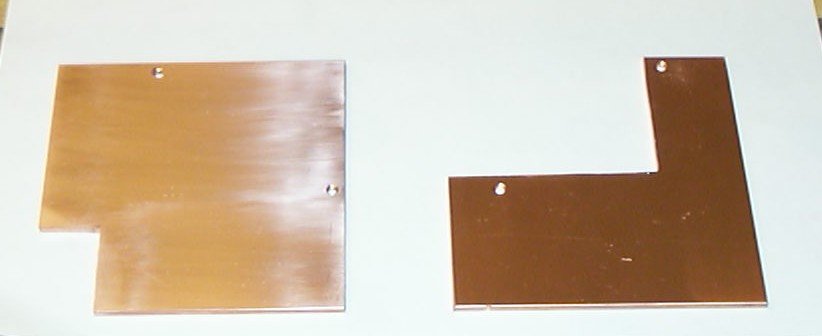
You are probably wondering how the RAM on the back of the card is cooled. I did think of having another peltier on the back, with another water block, but for now I will extend the two plates past the end of the card and join them with a copper strip. This will at least allow some of the peltiers cooling power to extend to the back. At a later date I will probably upgrade it to a 2nd peltier etc.


