Usage
The wizard will ask if you want to automatically mount the Disk Station's public share, but you can connect to it from any machine on the network. To further configure the Disk Station, the web admin interface can be used.
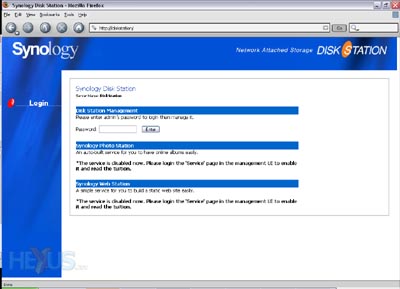
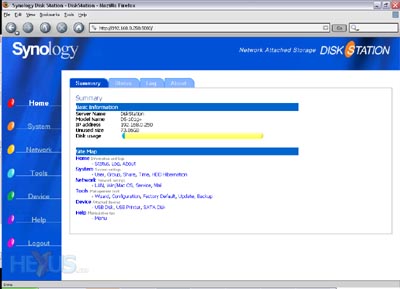
The web interface is tidy and easy to use. Some of the menu navigation isn't hugely intuitive (do you click the Network or System button to configure shares?) however it takes little use to get the hang of it.
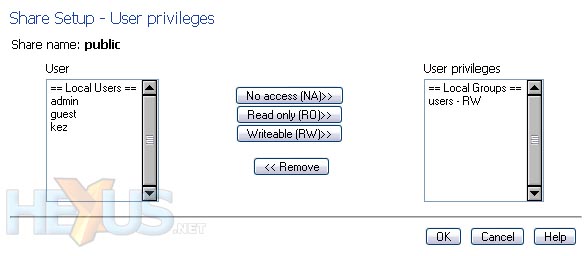
Options configurable through the web interface include users, groups and their permissions within shares, along with the ability to create new shares.

Features beyond manipulating the shares include a similar configuration wizard to the application found on the installation CD, network configuration, HDD standby time (saving power and heat), settings backup and restore, services, firmware update and connected devices.
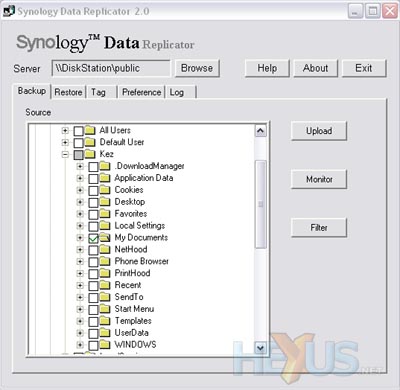
The Disk Station also comes with backup software allowing you to backup files on your computer to it. Based on the same technology used by the Disk Station Assistant Software, it can locate any Disk Stations, log in and list any shares so you can choose where to backup to... just remember to setup permissions properly if you have valuable data!
You can instruct the software to monitor folders and it will automatically backup any changes, removing the need for scheduled backups.

The print server functionality couldn't be much more plug and play. Plug your USB printer in, turn it on and the Disk Station will detect it and share it. My Epson Stylus Photo R200 worked without issue.
There is also the aforementioned photo gallery and web server built into the Disk Station. Once the web server is enabled, you must log into the 'web' share as 'admin' and upload html and image files. Then, connecting to the Disk Station on port 80 (the default port in a web browser) will give you access. You can still access the web admin interface through port 5000 (http://[IP Address/Computer Name]:5000). Enable the photo gallery, upload images to it and visit the '/photo' directory via a web browser and the gallery software will generate gallery pages and allow you to view and share the images.
Connect up a USB flash drive to the front of the Disk Station, hold the copy button for a couple of seconds and it will start flashing. The contents of the USB drive will then be copied to a dated folder within the "USBCopy" folder on the public share of the Disk Station - easy as pie! Of course, if you wish you can simply access the USB disk as a share, rather than copy it to the Disk Station.
To sum up the feature set of the Disk Station, I'd say it is both rich and easy to use. Perhaps not quite as intuitive as it could be, but things either take a few moments to get to grips with, or have easy to understand explanations within the web admin facility.


