Appearance
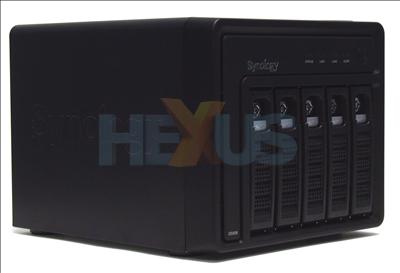
Finished in matt black the Synology Disk Station DS508 certainly looks all business.
At the top of the DS508's face you'll find the power button and status LEDs. Each hard-disk drive (HDD) also has a status and activity LED on its drive bay.
Installing the hard drives into the NAS box is a straightforward affair; you simply place the HDD in a caddy and screw in four (provided) screws into the base. The caddy then slides on runners to install. The motion isn't the smoothest, but as long as you're careful it's not really an issue. On our unit, however, the fifth drive bay (farthest right in the above picture) would occasionally stick or lock up..
On the rear of the unit there's a standard kettle power cable. Two 80mm fans, which run reasonably quietly during operation, handle cooling for the HDDs.
Two Gigabit LAN ports are provided for connecting to multiple networks, and two USB2.0 and a lone eSATA connection allow you to connect external drives or a USB printer, etc.
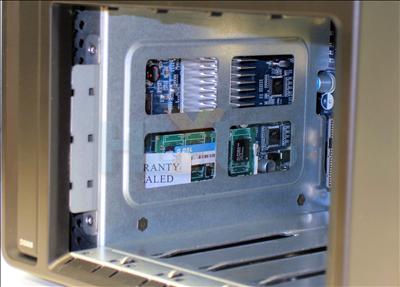
If you remove the drive caddies and look inside you'll get a glimpse of the components used. A 512MiB memory module with Elpida chips and two Marvell network controllers are visible.
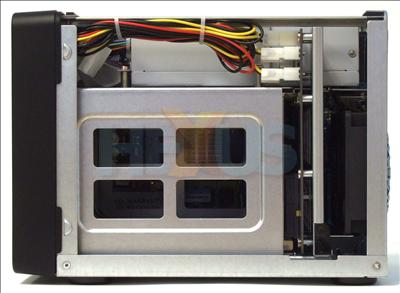
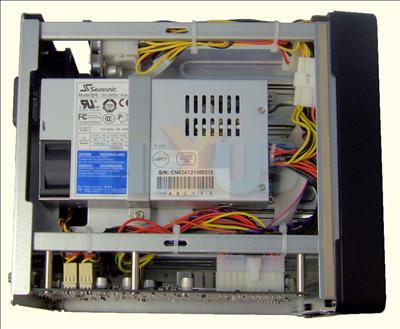
Removing the case panel lets us get a glimpse of the underlying chassis. The power supply is located in the top-third portion of the chassis, which is plugged into the SATA backplane daughter-board via two Molex cables.
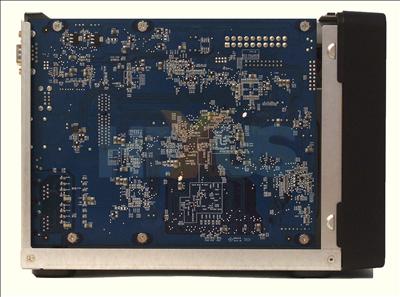
A look around the other side reveals the rear of the main system board. Whilst we would have liked to be able to simply remove the six screws and get a glimpse of the components on the board, we would also have had to remove the SATA backplane daughter-board, and to do that you have to remove sections of the chassis frame. As such we thought it better to leave the system intact.
The view from above reveals that the power supply is a 250W Seasonic server unit, which bodes well for long-term stability.
| Items |
|
|---|
Full specifications for the Synology Disk Station DS508 and its feature-set can be found here.


