Bite the bullet
After the backup and preparing my MacBook Pro, it was time to bite the bullet and get installing. I ran the Boot Camp utility and this walks you through the steps needed. It first creates a CD of drivers for Windows. I simply stuck in a blank CD and the disc was created for me.
After that, you get to choose just how much space you want to give to the Windows side of the machine. I chose 20GB, thinking that would give me enough space even to install games. The MacBook Pro has a 100GB internal hard disk so that still left me plenty of room for Mac OS X and its programs. Boot Camp then partitions the Mac's hard disk to create an area for Windows to reside.
Unfortunately, this is where I hit some problems. Boot Camp kept throwing up warnings saying that the hard disc had errors that needed to be fixed. I eventually worked out that Photoshop CS2 was causing the problem - removing the "legal" folder and its contents from the CS2 directory fixed the issue.
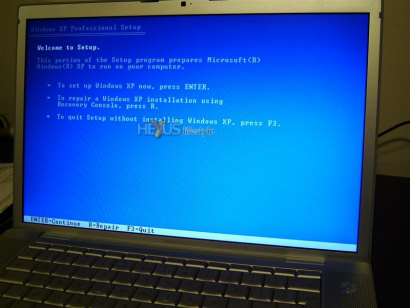
Once Boot Camp has created the partition successfully, it reboots the Mac and starts installing Windows XP. Do please note that you need a Service Pack 2 version of the Windows install disc for this to work – and that must be (Apple says) an original version not one you've created yourself from a non-SP2 version and an SP2 updater.
Apple also says that using Windows XP Media Center Edition is a no-no but I've been told that it does now work okay with Intel-based Mac. I've not tried it myself, though, so can't guarantee that it will work. However, it is okay to use an SP2 slipstream disc - a CD based on an original SP2 disc but with post-release updaters added. I know, because that's what I used. Check out how to create such as disc on Unattended Windows.
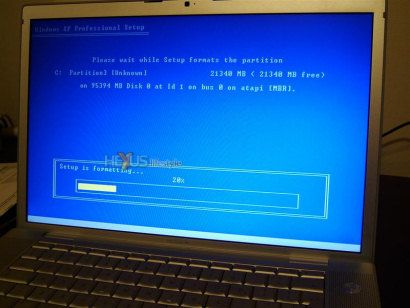
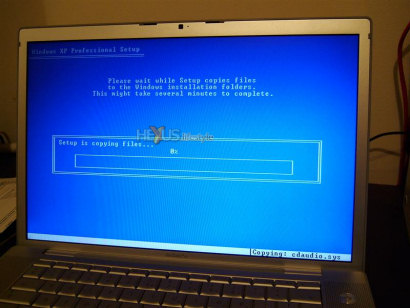
Installing Windows is just the same as doing it on an ordinary, non-Mac PC and typically will take under an hour in total.
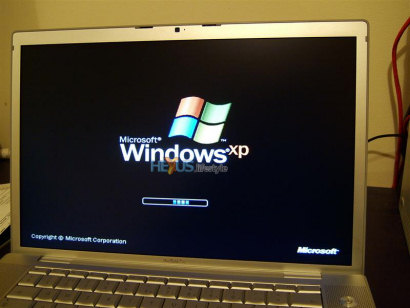
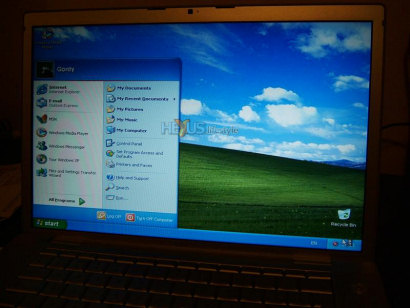
Seeing Windows XP running for the first time on my Mac felt very weird (here's an AVI of it booting - size 1.8MB). It also threw up some immediate problems. First, Mac laptops only have one mouse button, so ejecting the Windows XP CD required some thinking about. The quick-and-dirty solution is to open up My Computer, select the disc and, from the File menu, choose Eject.
Next, it was obvious that the display was not running as it should - Windows looked awful. However, as the drivers for the graphics processor hadn't yet been installed, that didn't come as a great surprise.
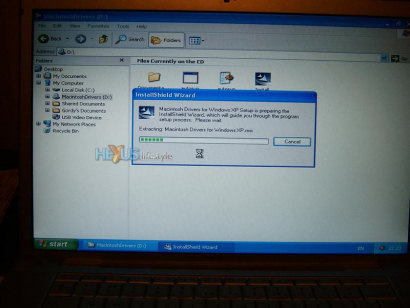
When I put in the Windows drivers disc I'd created earlier, it auto ran and started the driver installation.
The whole process needs a couple more clicks and then a reboot. After that reboot, Windows was running at the proper resolution and wasn't the blurred mess it appeared as before.
In addition, most of the other Mac built-in components, including Bluetooth and the wireless card, had their drivers installed. A few of the devices don't yet have drivers – among them the iSight camera and the backlight for the keyboard.
But, the basics are there and Apple, I imagine, is working away madly on the missing Windows drivers, especially given that Win XP dual-booting is intended to be standard in Leopard – the next version of Mac OS X.
After the Windows' drivers are installed, I'd suggest that you next install anti-virus and firewall software – Windows running on a Mac is no less vulnerable to attack than it is on an ordinary PC. Then go onto the net using Internet Explorer and, via Tools>Windows Update, install the critical updates for Windows. Be warned, quite a lot of them have come available since SP2 was launched so this can take you a little while to complete.
As I said, I used a streamlined CD with all the updates already on it, so it wasn't necessary for me to go through that process. But even if you are in the same position, it makes sense for you to set up Windows so that it advises you when new updates come available – assuming, that is, you want to maintain control and not let the downloads and installations happen automatically.


