The installation process
If you're purchasing a PC with Windows 7 pre-installed, part two of our review, the installation process, may be of little interest. If, however, you're upgrading or custom-installing Windows 7, the following pages will graphically take you through the process, step-by-step.
Please note that our demo installation involves a clean install of Microsoft's Windows 7 Enterprise 90-day trial on a Virtual Machine. The installation process for other Windows 7 product editions is practically identical, and the screenshots, below, should provide a good reference on what to expect. For those planning a company-wide deployment of 7, Microsoft has a 412-page deployment guide available to download.
Generally speaking, installing Windows on a blank hard drive has always been a relatively simple experience. Can Microsoft make it any easier, and, more importantly, any quicker? Let's find out.
To get started, users will need to configure their system BIOS to boot from a DVD drive. If prompted to hit any key to boot from the DVD, do so.
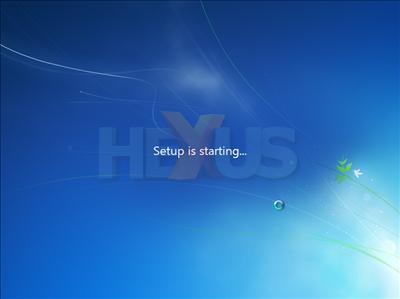
Booting from the Windows 7 DVD, the process begins in a familiar manner - and it should, seeing as Windows 7 is built upon the same core architecture as Vista.
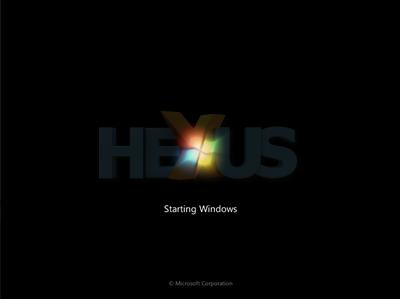
That's new - it's the Windows 7 boot screen, and if you're switching to 7, you'll be seeing this each time you boot your system. It's prettier than Vista, we reckon, but a boot screen is ultimately just a boot screen.
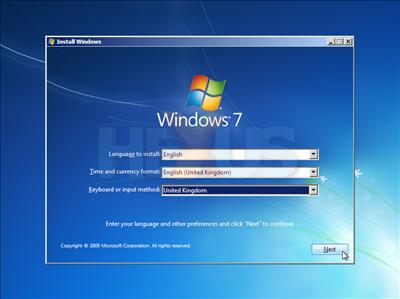
Next, we arrive at the first installation screen requiring user input. Like Vista, it's a set of localisation options including language, time and currency format, and keyboard or input method. Changing one setting to United Kingdom will automatically adjust the others.
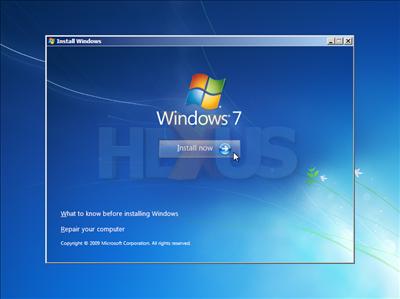
The next screen gives the user a few options - including Install Now and Repair your computer. The latter is one that could help solve critical system problems should you ever run into them, but for now, we're just here to install.
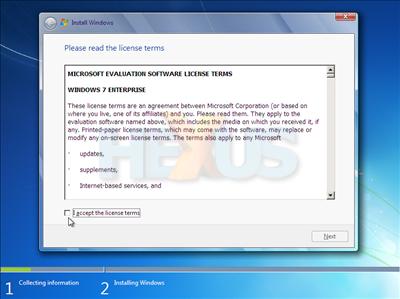
Unlike Vista, 7 doesn't yet ask the user for a product key - that comes later during the install process. First, you'll need to accept Microsoft's license terms.
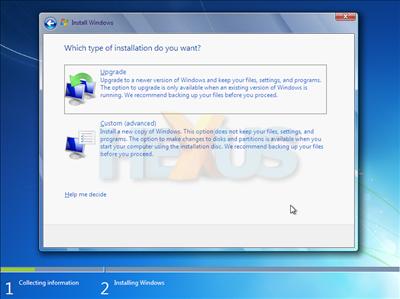
As discussed in part one of our review, Windows 7 offers two different install methods - an upgrade from a previous version of Windows Vista, or a custom install. We're starting afresh with a custom install - but be warned that this process is likely to result in the loss of any existing data. If you're installing over the top of an operating system, be sure to backup your data first!
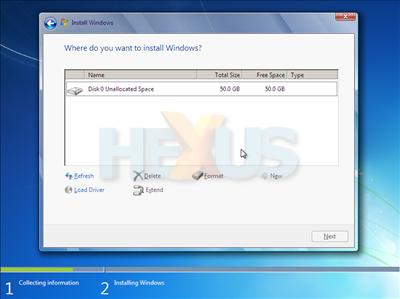
Microsoft's "Where do you want to install Windows?" option hasn't changed since the Vista days. Select your drive, create, delete, format or extend a partition if need be, and you're off. From here on in, it's a largely automated process until the final stages.


