


A monster is born
The AMD Radeon HD 7970 is our current choice for readers looking for the fastest single-GPU graphics card for gaming at high resolutions with bags of image-quality settings. The reference version is the cheapest, coming in at around £440, and its chunky heatsink does a reasonably good job at cooling the beast.
Many of AMD's partners have taken on the underlying PCB and attached their own cooling on top, with a view to beating the reference card's temperature and noise characteristics. You usually pay a premium for such special-edition models, especially if they're also factory-overclocked, and it's not uncommon to see top-end versions the wrong side of £500.
However, you can simply purchase the cheapest HD 7970 on the web, throw some more cash at an aftermarket cooler and attach it yourself. You may run the risk of voiding the card warranty, sure, but going down this route enables one to choose the type of cooling that best fits specific needs.
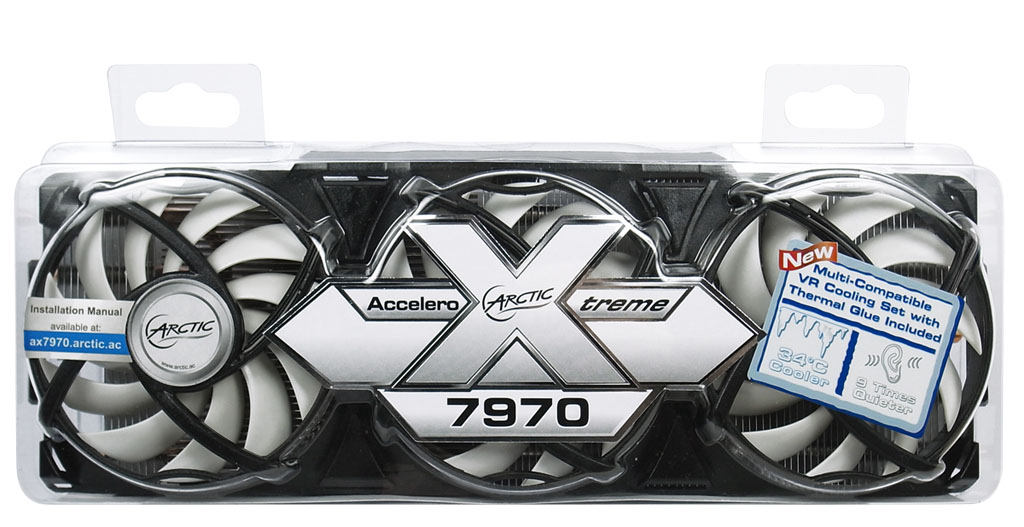
ARCTIC has recently released the Accelero Xtreme 7970, which is also compatible with the HD 7950 and unreleased 7870 and 7850 GPUs. We took the £75 heatsink for a review spin.
 |
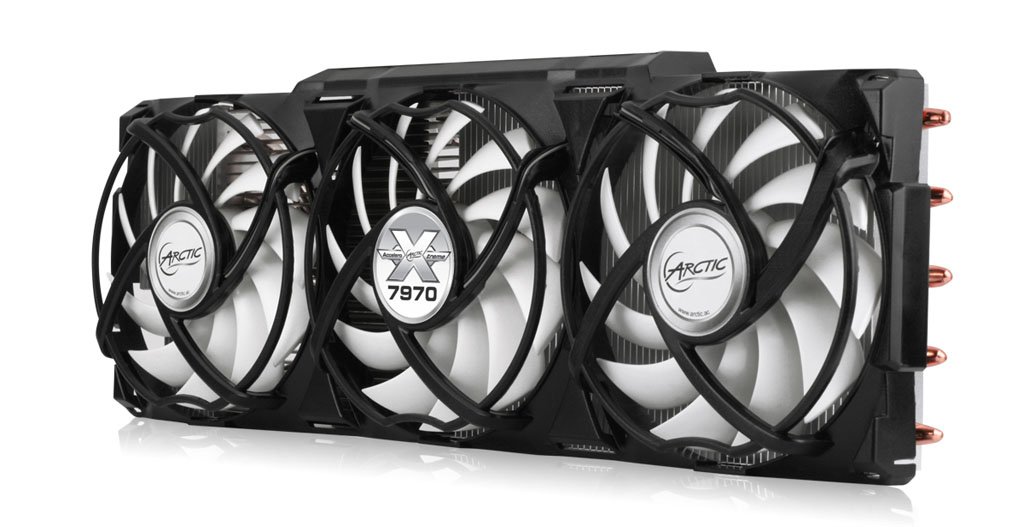 |
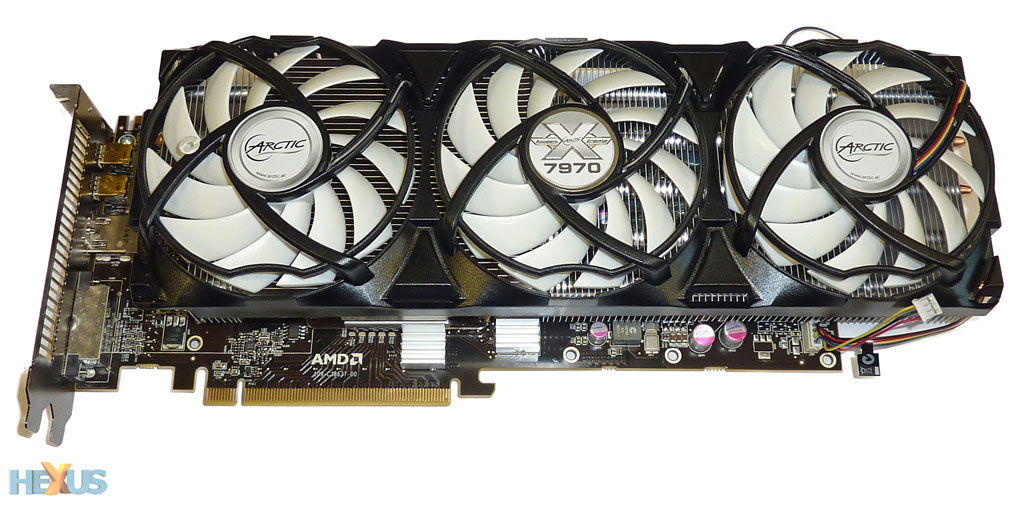
The Accelero Xtreme 7970 is a three-fan cooler that bears remarkable similarity to the already-available Accelero Xtreme PLUS II. They both weigh around 600g and use a trio of 92mm PWM-controlled fans that clearly dominate the heatsink. Measuring 288mm wide, 103mm high and 50mm tall, both versions will make your card a triple-slot-taking monster.
 |
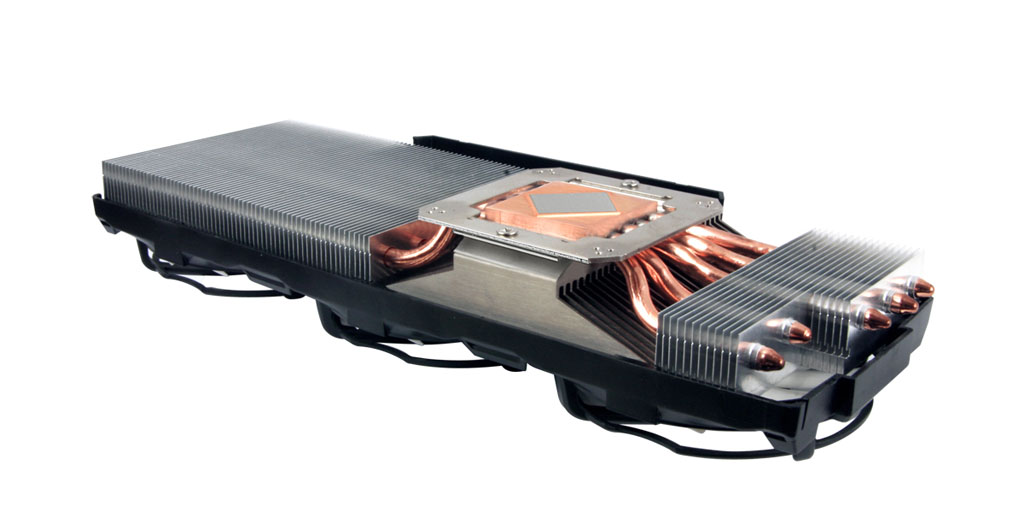 |
The one difference between the two high-end coolers rests with the orientation of the slightly raised section (in contact with the GPU) of the copper heatsink; the Radeon HD 7970 has a 45-degree rotated layout on the reference PCB when compared with a host of much older Radeons and practically all GeForce cards.
Five heatpipes (6mm-thick) run through a total of 84 aluminium fins, placed on either side of the GPU. A frame, surrounding the pre-applied thermal interface material (TIM), has a number of screw holes in each corner. The relevant ones depend upon which GPU is being used - HD 7970 uses the four closest to the middle - and screws are pushed through a rear backplate and secured through these holes.

Whoa, Mary, the package contains far more than just the cooler. Proffering to be an all-in-one solution, 12 RAMsinks and a gaggle of voltage-regulation heatsinks are also included. Experienced users may well be able to attach the cooler with their eyes closed, but ARCTIC doesn't include any instructions in the box itself. Rather, in a move that's seen as eco-friendly, they have to be downloaded, saving paper, though we'd much rather have a printed sheet instead.
Installation
Removing the reference cooler involves taking away 20 or so screws. It's well-built and comes away quite easily. The next job is to glue the RAMsinks on, requiring the mixing of the white and grey bags, waiting 15 minutes, and then application with the plastic spreader.
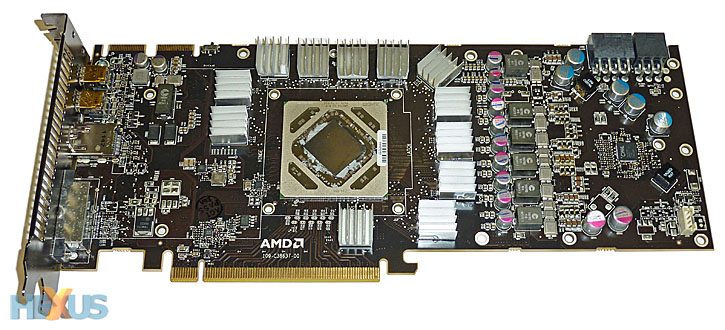
The 'sinks are then pushed into position and left to set. It's actually a good idea to unscrew the mounting plate from the Accelero Xtreme 7970 and place it over the correct holes on the PCB. The plate is a tight fit and placing it first, albeit temporarily, ensures that no heatsinks foul the installation area - something that can happen if the bottom-central RAMsink is pushed up a little too far. You're then ready to install any other RAMsink in the same manner.
 |
 |
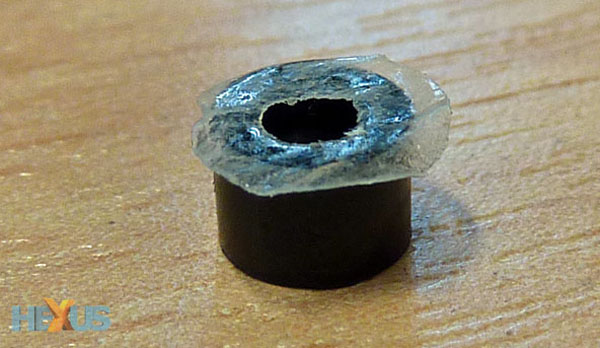
The next step is the trickiest, as one needs to attach the black spacers to the mounting frame (now back on the cooler), thereby stopping it from potentially bending too much once the rear plate is screwed on and through. The trouble is that the double-sided adhesive pads - one shown on the left - are an absolute pain when removing the covering layers. Being very small and thoroughly difficult to handle, getting the layer off requires considerable dexterity - and you don't have any spare pads to play around with.
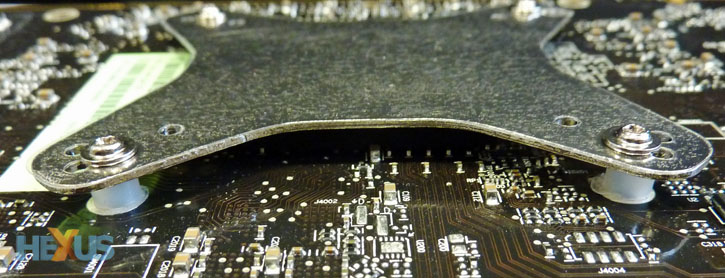
The onerous spacer-fitting process is repeated on the rear side of the PCB. Once on, the HD 7970 PCB is lowered on to the Accelero Xtreme 7970 cooler, carefully making sure that the holes do indeed match up. The backplate is kept apart from the PCB via a foam insert that protects the numerous small components on this side. The last job is to carefully screw each side down until there's no move give in the backplate.
While the installation process is relatively straightforward once the instructions have been digested, you are using glue, adhesive-attached spacers and, perhaps, thermal tape over some components. As such, it takes considerably longer to attach this cooler than, say, the reference model that can be done in just a few minutes.
 |
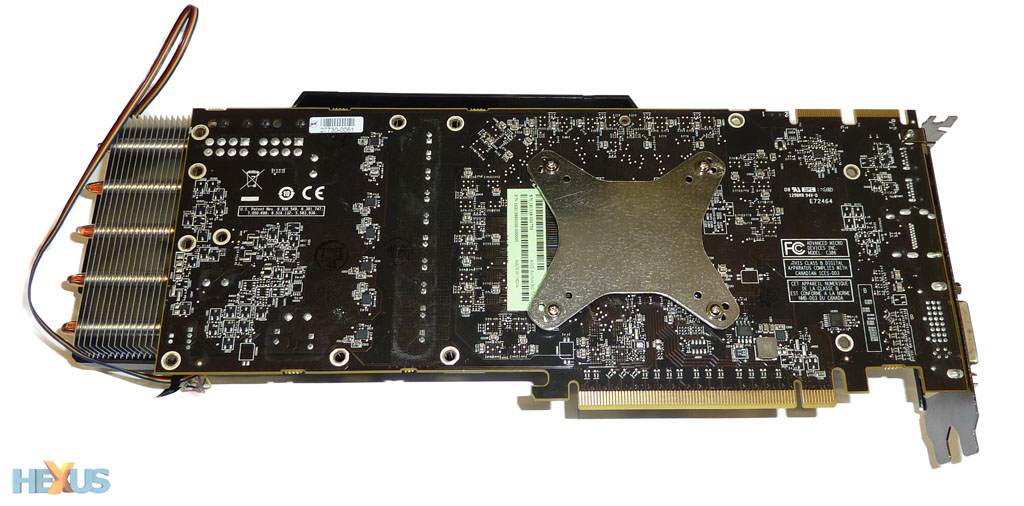 |
Overhanging the PCB by some distance and making the HD 7970 a considerable 305mm (12in) in length, be sure that the chosen chassis can accommodate such a gargantuan card. The CrossFireX fingers remain free of impediment, which is good thinking, but an extra-long CrossFire bridge (and gap between PCIe x16 slots) will be required to attach a second Accelero Xtreme-cooled 7970 into the system.


