


Inside the Steam Castle
We tend to think we've grown too old for chassis illumination, but in the case of the Steam Castle, the LEDs work quite well. Four LEDs are installed in total, each sat beneath one of the circular vents on the chassis' roof, and they provide quite a nice glow. Blue, red and green colour options are available (no white, sadly) and users can toggle colour or brightness by pressing or rotating the control wheel. The LEDs can just as easily be turned off if you prefer.
 |
 |
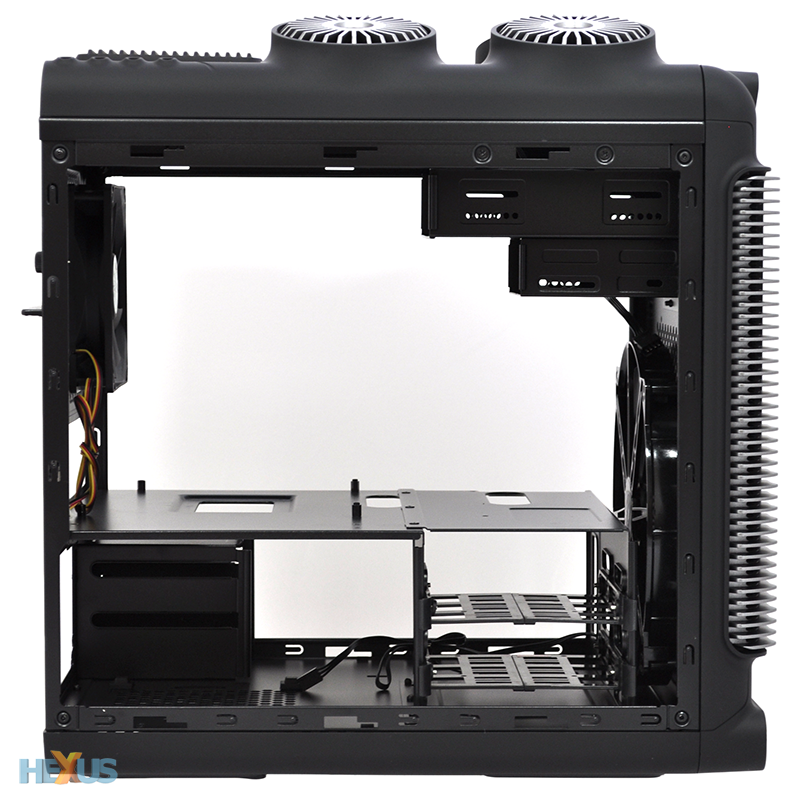
Moving inside reveals a logical layout with a good amount of space for modern-day components. Deepcool has the motherboard tray laid flat, meaning plenty of room for tall CPU coolers (up to 200mm), but the size of the chassis does limit motherboard choice to mini- or micro-ATX. Not that we're complaining, mind you, as full-size ATX makes little sense these days for anything other than ultra-extreme builds.
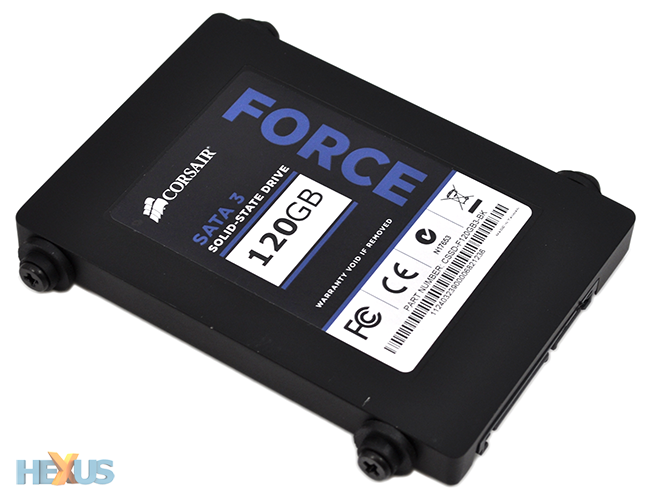
Underneath the motherboard tray, we can see rubber standoffs for PSU, though do bear in mind supply size is limited to roughly 160mm, meaning high-end, high-capacity units may not fit easily. In front of the PSU bay is a hard-disk cage equipped with a pair of tool-free 3.5in trays and alongside is a secondary cage outfitted with dual 2.5in slots. Unusually, the latter doesn't allow SSDs to be slotted straight in; the bays are slightly too wide, so drives need to be attached to bundled standoffs prior to installation.
Elsewhere, we have a 5.25in optical bay (not tool-free) and, weirdly, a front-facing 3.5in bay that leads nowhere. There's a cutout in the steel chassis, which suggests this might have been a good place to install a third-party fan controller or I/O module, but Deepcool appears to have had a change of heart as the bay is blocked by the front-panel cover.
Cooling, meanwhile, is provided by two pre-installed fans; a 200mm front intake and a 120mm rear exhaust. Building on this out-the-box potential is two further 120mm mounts tucked into the roof of the chassis. These of course could be used to house a 240mm radiator, though depending on thickness, you may end up fouling the 5.25in optical drive.
 |
 |
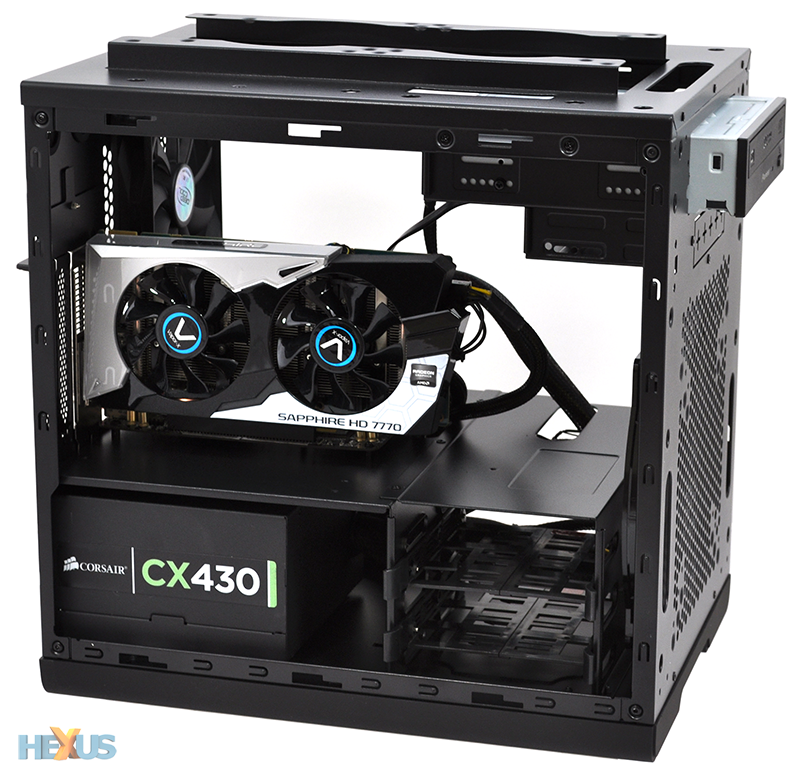
All things considered, there's a reasonable amount of room to work with and our mini-ITX build was easy to install and wire together. Four expansion slots allow for two-way CrossFire or SLI configurations, and graphics cards measuring up to 320mm in length are supported.
Our test platform isn't quite so high-end and consists of an ASRock FM2A85X-ITX motherboard, an AMD A10-6700 APU, 16GB of Adata XPG DDR3 memory, a low-profile Noctua NH-L9a cooler, a Sapphire HD 7770 Vapor-X graphics card, a Corsair Force 120 SSD and a Corsair CX430 power supply.
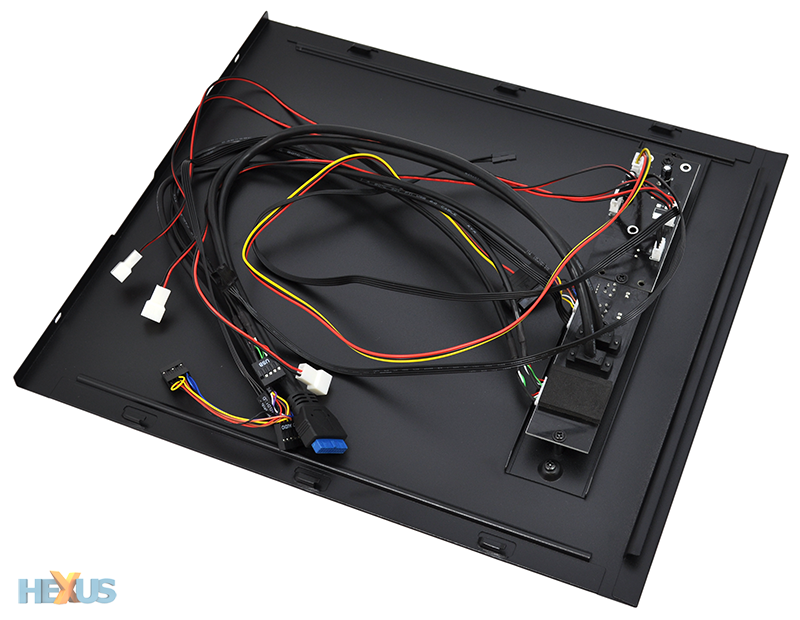
Getting our components into place proved straightforward enough, with plenty of room beneath the motherboard tray for excess cabling and pre-attached standoffs for a mini-ITX board. It should, really, be an uncomplicated build, but two shortcomings prevent the Steam Castle from being as user-friendly as it might have been. Firstly, the notched side panels have no handles or grips, making them unnecessarily tricky to remove. Secondly, and more importantly, the right side panel's I/O cabling is a real frustration. There's plenty of it (click here for a pic) and the mess of unsleeved wiring is very awkward to attach, and of course it makes side-panel removal awkward from hereon in.
We're not fond of side-mounted I/O ports at the best of times, but factor in the cable-management complications inherent to the Steam Castle, and we'd have much preferred connectivity options on the top or front of the case.
There are niggling issues to be aware of, yet despite these few frustrations, the end build is reasonably tidy and cooling performance is more than adequate for our chosen components. Noise levels, too, are easy to keep in check as the side-mounted fan controller can be used to control up to three fans.


