Internal Appearance - Continued
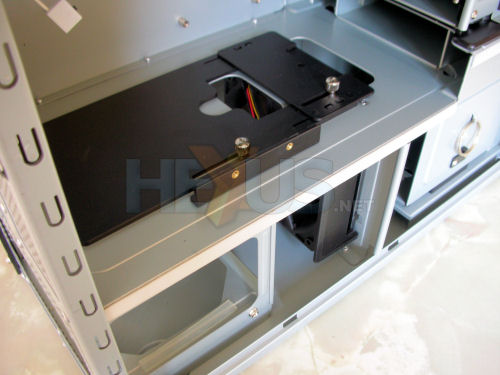
The bottom chamber, where the PSU is located, is separated by a sliding plastic plate. This allows you to fit all the necessary cables and then seal off the chamber from the motherboard area.
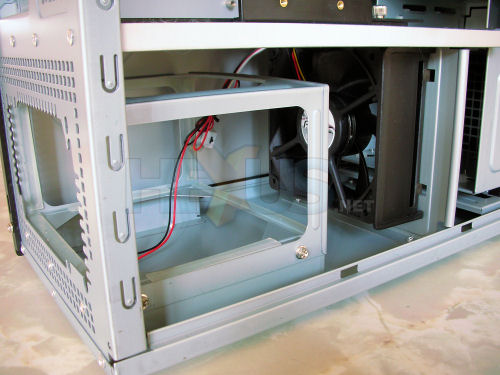
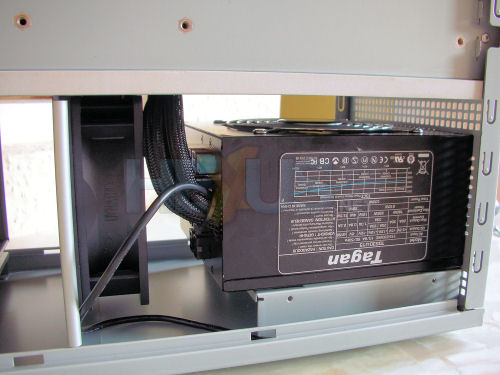
The PSU chamber features a removable PSU brace along with a 3-speed Antec 120mm fan. Due to the fixed back plate you have to remove the PSU brace in order to fit it into the system. For these tests we are going to fit one of the more popular PSUs at the moment, a Tagan 530W Easycon.
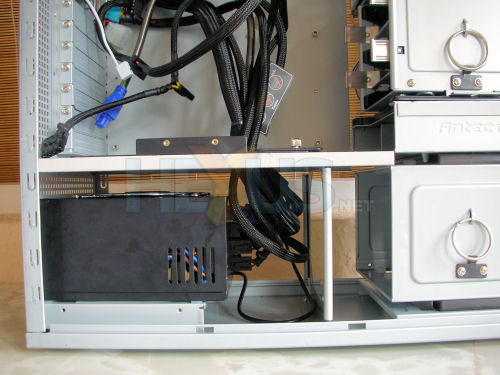
When we tried to fit the Tagan PSU into the system we ran into a number of problems, the first one is the cable space, or lack thereof. In addition to this you will notice the brace is missing from the image and there is a very simple reason for it; it just didn’t fit.
Whilst the design for the PSU chamber does offer some thermal benefits it does struggle with PSUs that have been released since this Antec P180 hit the market. The space is just too confined to be flexible, especially considering the oversized depth of the pre-fitted 120mm fan.
In the end, we had to remove the 120mm fan from the lower chamber in order to get the Tagan PSU to fit. The same was true for for a Hiper Type R. In fact, the only PSU we could get to work with the fan in place was Antec’s very own Neo HE modular version. We tried to relocate the removed fan to one of the front fan mounts, but there wasn’t enough space either. Basically, if you don’t use the fans where Antec has fitted them they can’t be used anywhere else in the chassis, which is disappointing.
Another item of note is the length of the power cables on the PSU you decide to use, seeing as the PSU is the opposite end of the motherboard compared to normal chassis. You need to make sure the 20/24 plugs are long enough to reach. If not you will need to buy a cable extender in order to use it in the P180.


