


Usage Notes
The Chill Control 3 USB comes preset at 75% fan load, -10°C startup temperature and 25% heater load, a sensible set of defaults for the LightSpeed. 25% heater load is a little low for those pre-overclock speeds, but it's fine when you crank things up.Using the LightSpeed is no different to any other VapoChill. Hold down the power button for a second or so, the compressor fires up and the LCD springs into life. Temperatures drop until they reach the startup temperature, then power is applied to your motherboard. It's pretty simple, the only thing different to your normal startup sequence being the wait for the evaporator head to get the CPU chilled.
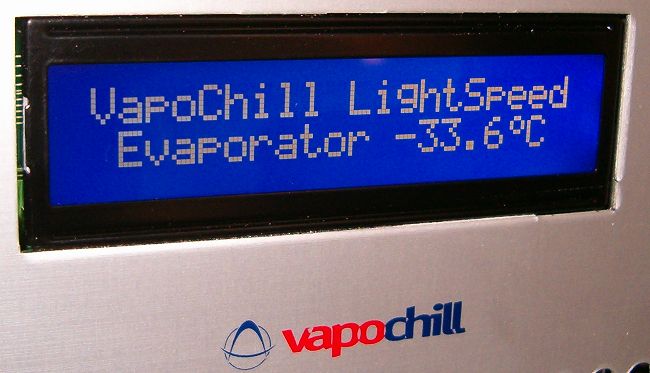
At startup and before connection by the Windows software, the LCD readout looks like this.
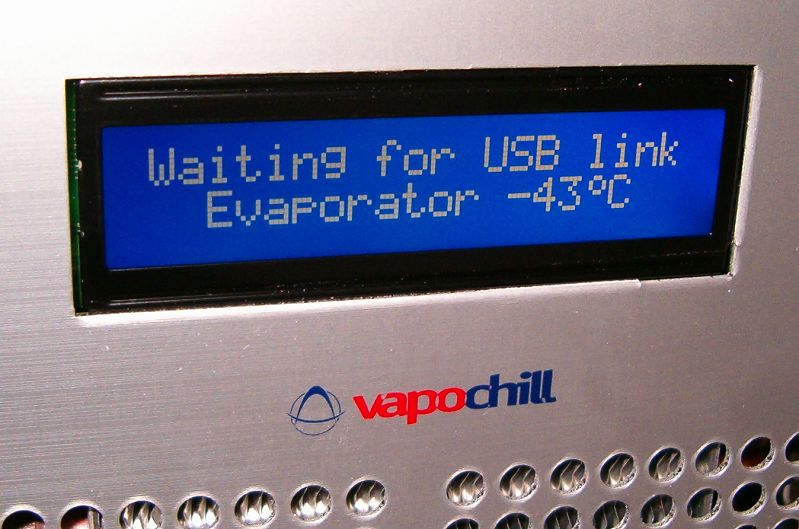
You can see the unit waiting for the software to connect over USB and the evaporator head getting very cold.
Software
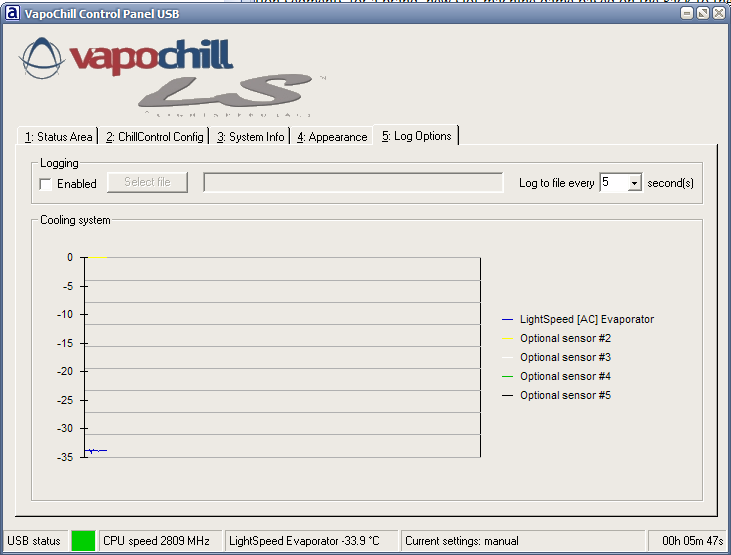
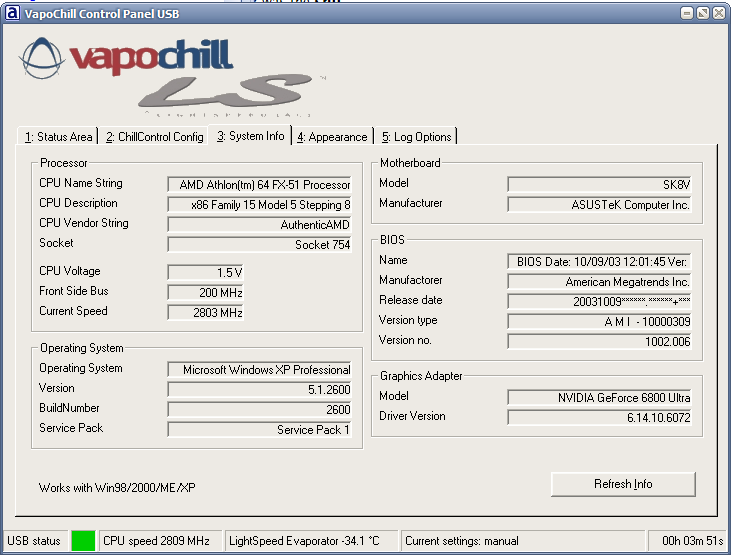
The software lets you adjust ChillControl settings and control the LCD display.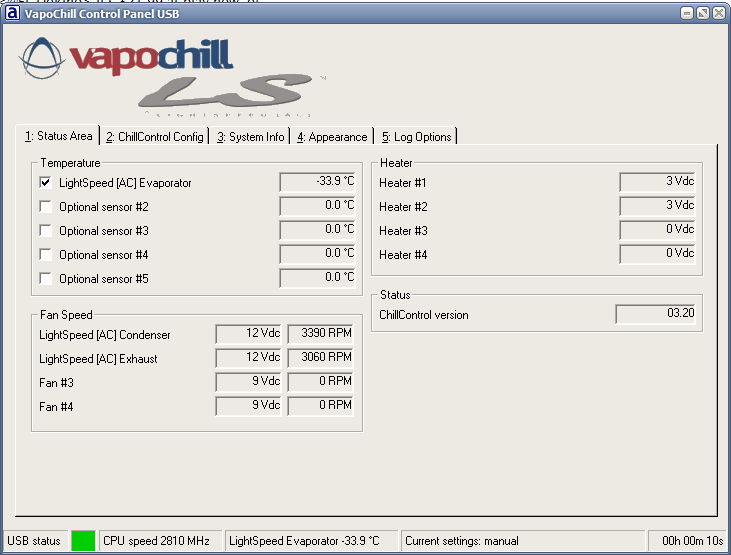
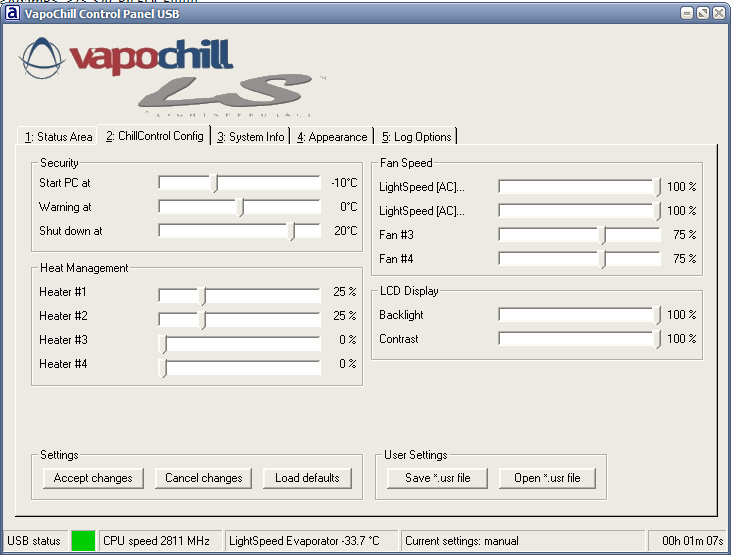
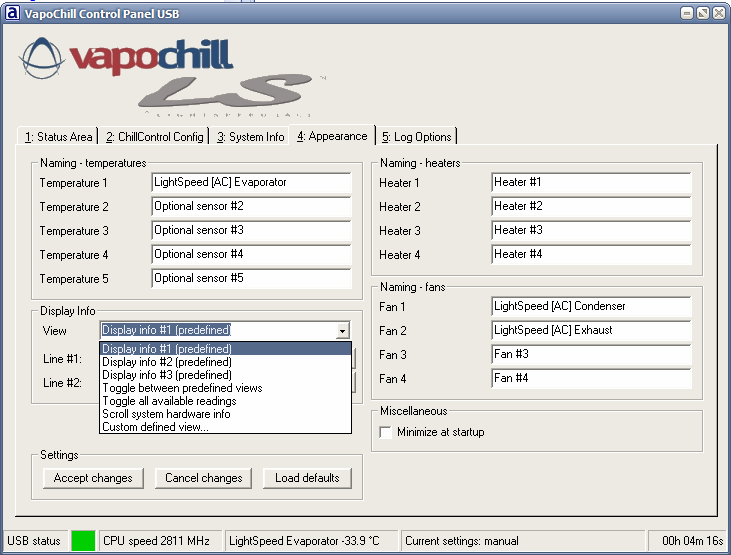
As you can see, the settings are very intuitive. Controlling what's displayed on the LCD is simple, given the options presented in the drop down menu (third screenshot).
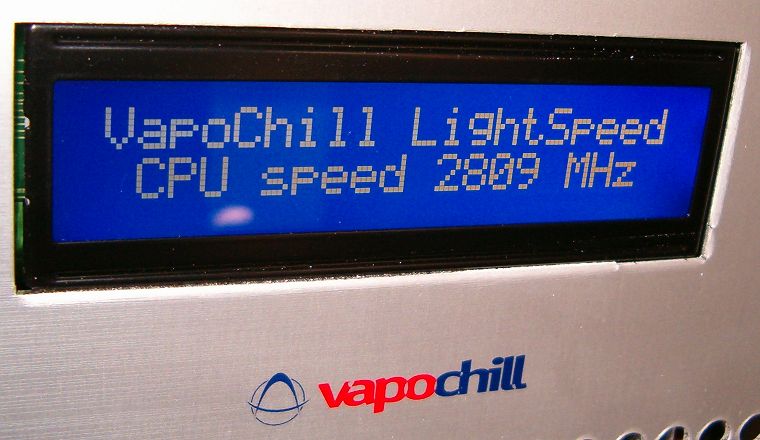
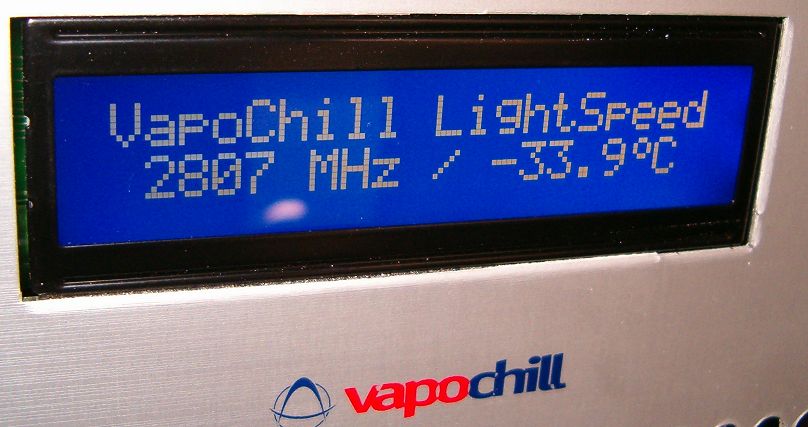
Here are a few photographs of the LCD display with some of the display options set.
You can find pictures of the logging and system info screens in the software here and here.


