


Big and meaty
High-end graphics cards have increased in performance with rapid pace. The flagship parts of current-generation GPUs offer more than double the performance of what was on offer two generations ago. Compare the AMD Radeon R9 290X to the Radeon HD 6970, or the Nvidia GeForce GTX 980 compared to the GeForce GTX 680. One thing that hasn’t improved as dramatically as performance is the standard of reference cooling solutions.
AMD’s R9 290(X) is one of the biggest offenders in that regard, frequently reaching its thermal throttling point of 95 degrees Celsius under typical gaming loads. Nvidia, on the other hand, has made some headway with its coolers; the well-crafted GeForce GTX titanium-alloy style offers a nice balance of acoustic performance and cooling. However, that also has a tendency to reach its thermal throttling point of 80 degrees Celsius, especially when overclocking or gaming for prolonged periods.
If you’re the owner of a high-end reference-design graphics card then you’ve already forgone the opportunity to buy a custom-cooled non-reference model from an AMD or Nvidia AIB partner, like Asus or EVGA. In which case, the next best option is fitting a custom graphics card cooler yourself. That’s where today’s substantial centrepiece comes in: the Raijintek Morpheus, priced at £45.
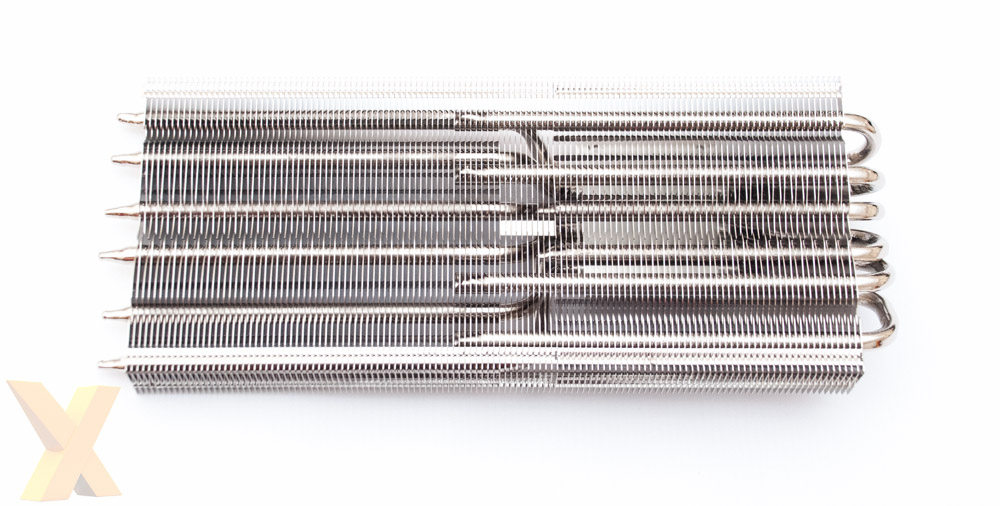
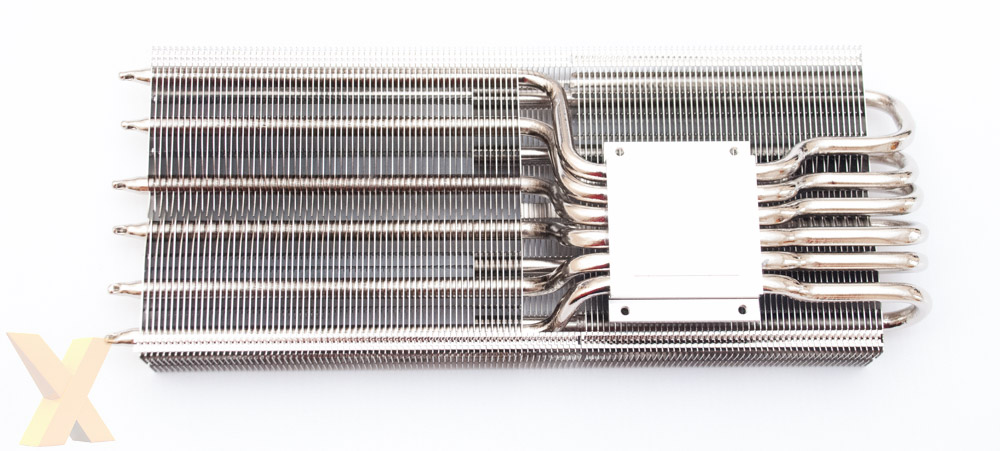
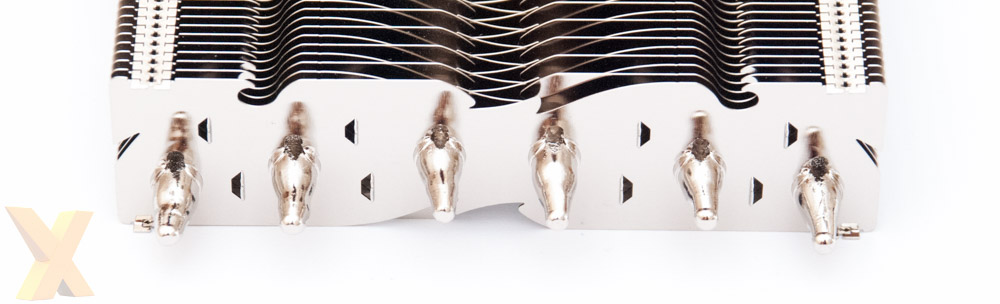
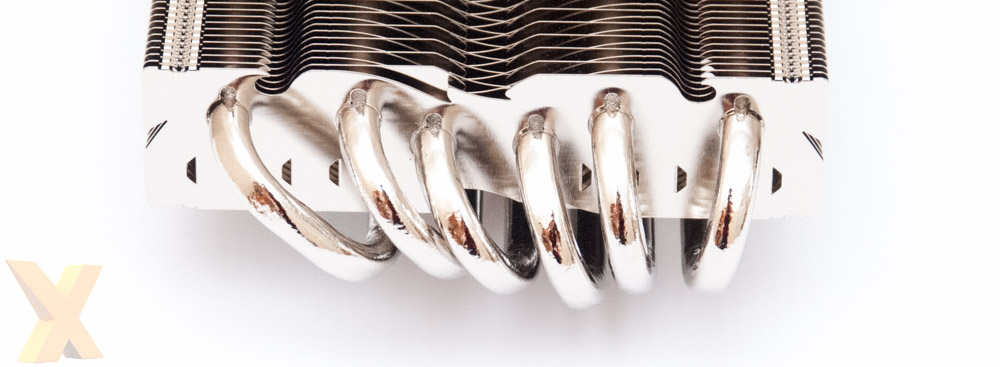
Raijintek proudly proclaims that the Morpheus is equipped with 12 six-millimetre copper heatpipes, 129 aluminium fins and a sizeable 360 watts of cooling capacity. We are inclined to reassess the Morpheus as having six through-the-block heatpipes rather than 12, but even so, the hardware on offer is impressive.
 |
 |
The Morpheus is supplied as a standalone cooling heatsink, no fans are included. Raijintek recommend a pair of 120mm fans for optimal cooling performance so the user’s choice of fan will have a large impact on the overall experience. For our testing we opted for a pair of NB-eLoop B12-PS fans that are known for their high-quality construction and low-noise operation.
 |
 |
To get up and running Raijintek provides an assortment of mounting hardware; fan brackets, mounting screws; RAM and VRM heatsinks, thermal pads and thermal paste. The installation procedure, clearly detailed in the user’s manual, is surprisingly simple to follow despite the intimidating number of mounting items provided.

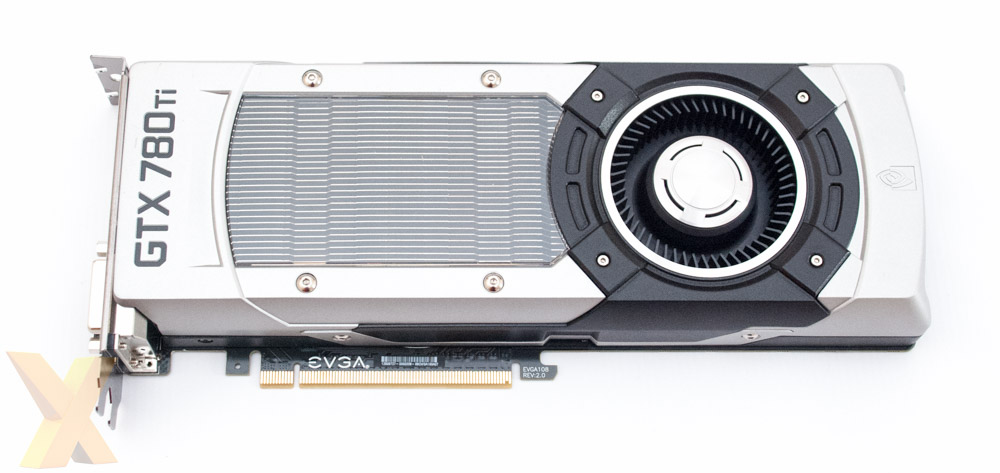
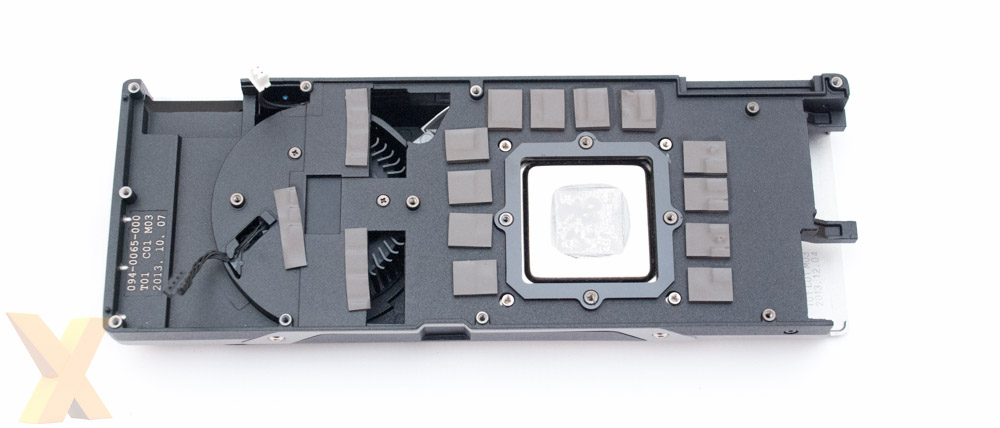
The first step in installing the Morpheus VGA cooler involves removing the existing VGA cooler on the graphics card – in our case that’s an EVGA reference GeForce GTX 780 Ti. Removing Nvidia’s reference cooler is easy to do, even for a beginner; simply remove all the screws on the rear of the PCB and the two on the rear I/O. The heatsink separates easily from the PCB. With the heatsink removed it is worth taking a look at the arrangement of thermal pads on the cooler that's being taking off so you can ascertain quickly which components need cooling when the new cooler is fitted.
 |
 |
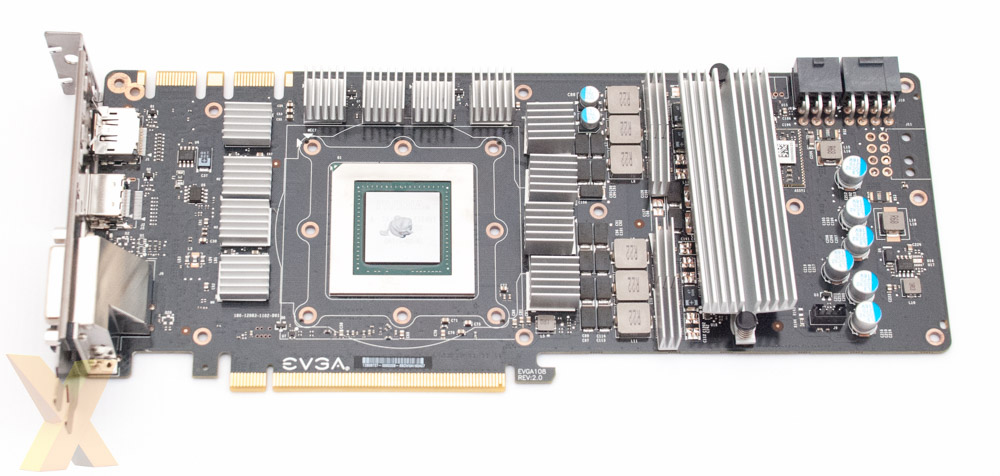
Cleaning up any gunk left behind by the previous cooler is next on the checklist. This is especially relevant if the target graphics card is dusty and well-used. Once cleaned, identify all memory chips and VRM components that require cooling then secure the appropriate heatsinks in place. The adhesive pads provided with the Morpheus make installation very simple, although placement needs to be right first time. The adhesive pads are good for one use only; they lose most of their adhesiveness when reapplied.
 |
 |
The next procedure is to prepare the Morpheus with the universal mounting brackets and correctly-spaced screws, before proceeding to attaching the beast to the graphics card. Raijintek specifies clearly which mounting holes are relevant for which graphics cards in the documentation.
An active cooling source is needed, unless you intend to use the Morpheus passively. Raijintek provides four fan clips that support two 120mm fans; there isn’t any flexibility to use alternative size fans due to the spacing on the clips.
 |
 |
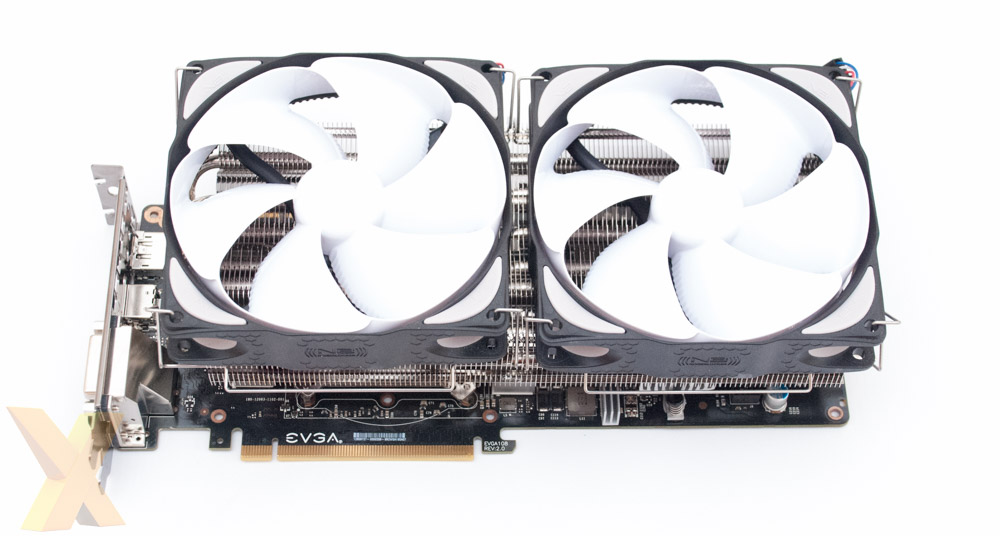
Once complete, take a deep breath to contemplate the fact the assembled graphics card now takes up a staggering four PCIe slots. Slim 120mm fans could be used, but even then, there’d still be some overhang into the fourth PCIe slot.
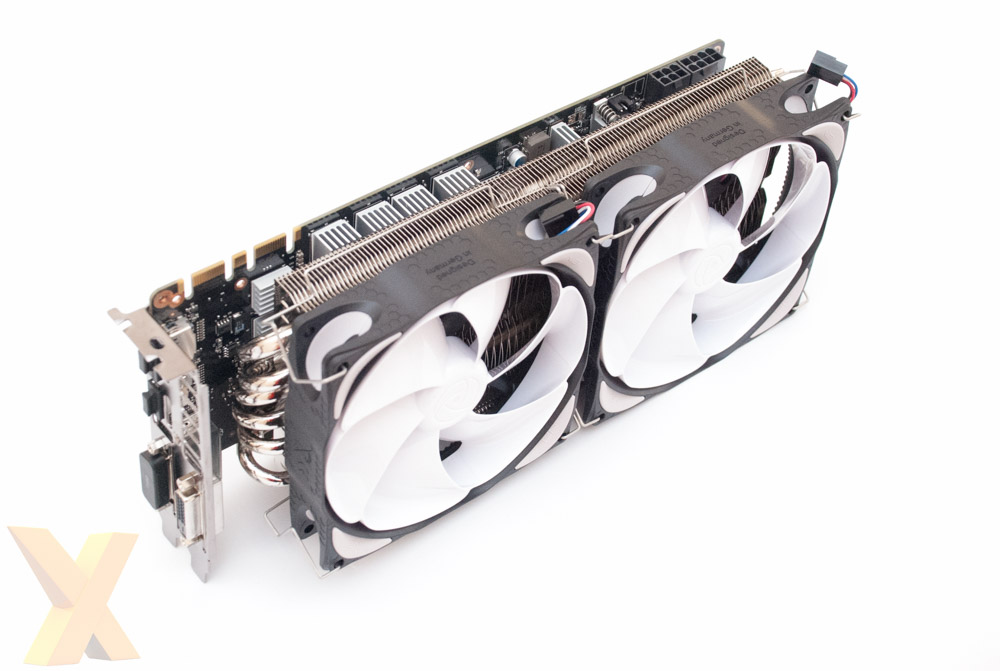
The finished product in its four-slot glory.


