


Installation
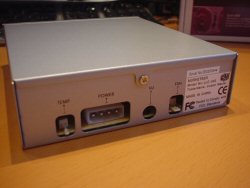
Installing the Cooler Master Musketeer is very easy. Fixing the device into place is just the same as installing a CD drive. I found that once the Musketeer was installed it was slightly awkward to connect the cables. This was because the device is quite short in comparison to the length of a CD drive. I installed the Musketeer in between my CD writer and DVD drive which caused the problem of not being able to reach the connections on the back of the Musketeer. Never the less this wont be a problem for everyone. Once the Musketeer was securely in place I connected the thermal probe, the molex power connector, the CPU fan and the VU cable.


The VU cable leads down to a PCI expansion bracket that has two 3.5mm stereo jacks. Cooler Master provide a small 3.5mm stereo loop back cable that is connected to the green jack, “speaker out” socket on your sound card and the other end to the PCI bracket marked as “IN”. You can then plug your existing speakers or headphones to the jack marked as “OUT”.

Setting Up
To setup the Musketeer sound pressure function you need to set the right hand slider to maximum. Then adjust the software volume (Windows master play control) so that the peak volume does not exceed the red zone on the VU display. Finally you can adjust the speaker volume to a reasonable listening level.The left slider controls the fan voltage. This function is similar to other products on the market allowing the user to adjust the fan speed and minimise noise. Unlike other products the Cooler Master Musketeer lets you view what voltage the fan is set at via the left hand dial on the device.


