Project Black Ice - Part 2
|
Project Black Ice - Part 2 - Jigsaw: Essential!, make sure you get
fine tooth bi-metal blades of good quality. Get about 10 blades as they
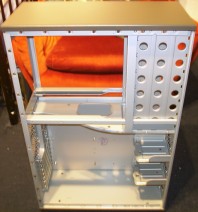
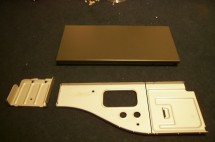
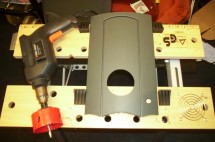
do wear down fast cutting steel. First things first, let's strip down the case: What's that big ugly metal plate going across the middle of the case? - that has to go!. I drilled out the support rivets and removed it completely so I can cut it more easily:
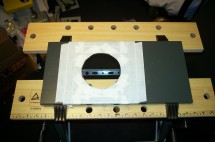
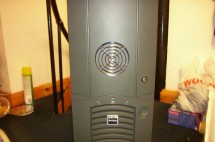
This is where I ran into a bit of a problem - I trashed the hole cutter :(. I only got halfway through before the blades on the cutter were totally warn away. My drill doesn't have a speed control, and even though I revved it up and down to try and control the speed, I think I was still going way too fast. Oh well, its probably just as well as I decided I wanted the hole more central as it might hit the power supply. I marked out a new hole and proceeded to cut it with the jig - as always when using a jig masking tape up the area your going to cut as it will scratch all the nice paint work: Not too bad! - once I finished
it off with some rubber trim. You can see the slight indentation the previous
hole cut has made - it really isn't noticeable, the camera flash has made
it look far more visible than normal. With the top hole cut, I moved onto
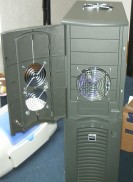
cutting the holes on the bay door. These are needed for the 120mm air
intake fan than i'm going to mount in the bottom 3 bays, to supply cool
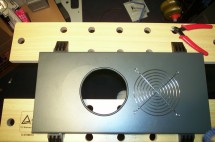
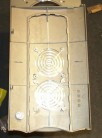
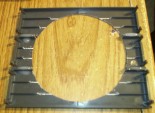
air to the vapochill rig. The hole was cut using a 76m hole cutter, as
shown below: Since the hole cutter gave me a perfect hole, I could do a 'stealth' fan grill mod. The result of which, I think you will agree, is very nice...so much so I did another :) I thought it best to have
two 80mm holes to provide the 120mm fan with plenty of breathing room.
I was originally going to cut a 120mm hole in the door also, but it would
have interfered with the groove on the door. |


