


Installation and Usage
There are plenty of good high-end coolers on the market, but Corsair originally grabbed headlines with the Hydro Series range for doing one thing better than most; it made liquid coolers easy to use and accessible to the masses.
The original H100 was super-easy to install, yet somehow or other, the H100i is even easier. You still need room to mount the 240mm radiator, but if you've got that, installation should prove to be a doddle.
 |
 |
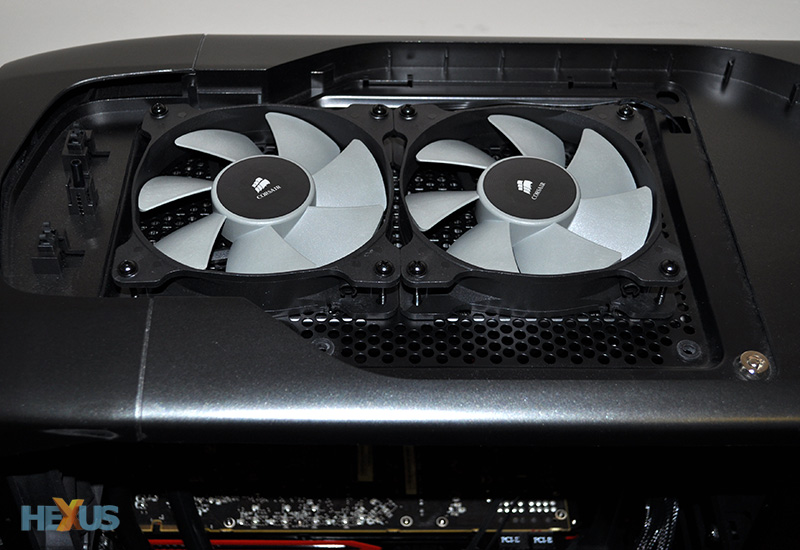
Where you choose to install the radiator will of course depend on your chassis, but on our Graphite 600T we have the fans placed on top of the chassis (inside the mesh grill) and the radiator installed underneath the roof. The two lock together using eight screws and washers. Easy, though it's worth pointing out that the H100i fans can be installed in either direction - as exhausts or intakes.
Whichever orientation works best depends entirely on your airflow configuration, but Corsair usually recommends drawing cool air in from outside the chassis to maximise the performance of the radiator. A bit of experimentation never hurts, but in our chassis we managed to get optimal results with both fans configured as intakes.
 |
 |
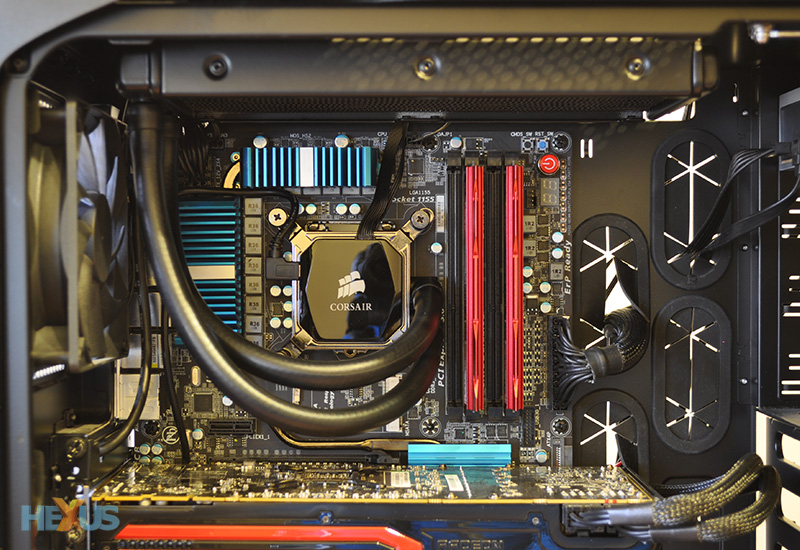
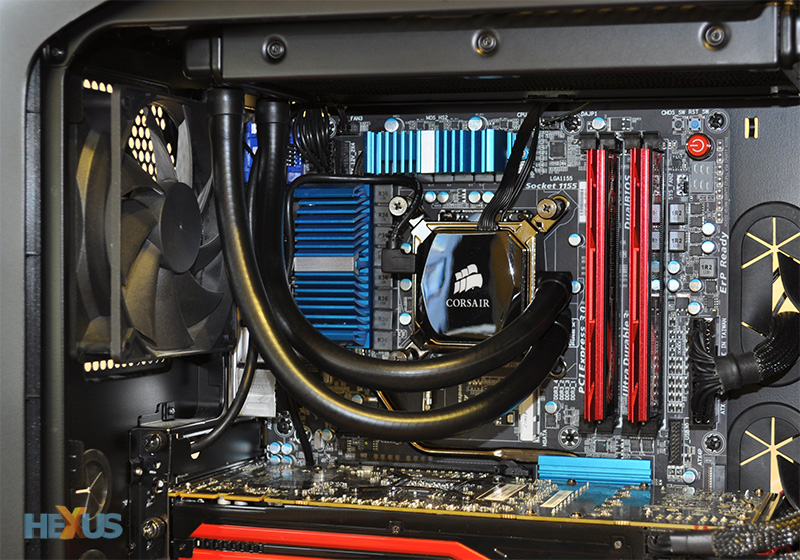
With the radiator attached, it's a matter of fixing the backplate to the rear of the motherboard, screwing in four standoffs, sliding a magnetic mounting bracket onto the pump, and tightening it all together using four thumbscrews. It's oh so easy, and if you've ever battled with an oversized air cooler, you'll certainly appreciate the fact that the H100i is so simple to handle and install.
Getting the pump and radiator locked into place takes a matter of minutes, but cabling can require a little more work. The two fans connect to a splitter that hooks up to the top of the pump, a SATA power connector needs to be fed from the system's PSU, a three-pin header connects to the CPU fan port to provide RPM info to the BIOS, and a USB cable needs to be routed from the side of the pump to one of your motherboard's USB headers for Corsair Link functionality.
That's a fair amount of cabling for a pump, and though we appreciate the SATA power connection (so long, Molex), you'll have to take your time if you're wanting to maintain a clean-looking build. On the whole, the H100i looks impressive in our test platform and it's nice not having a gigantic heatsink covering most of the board.
 |
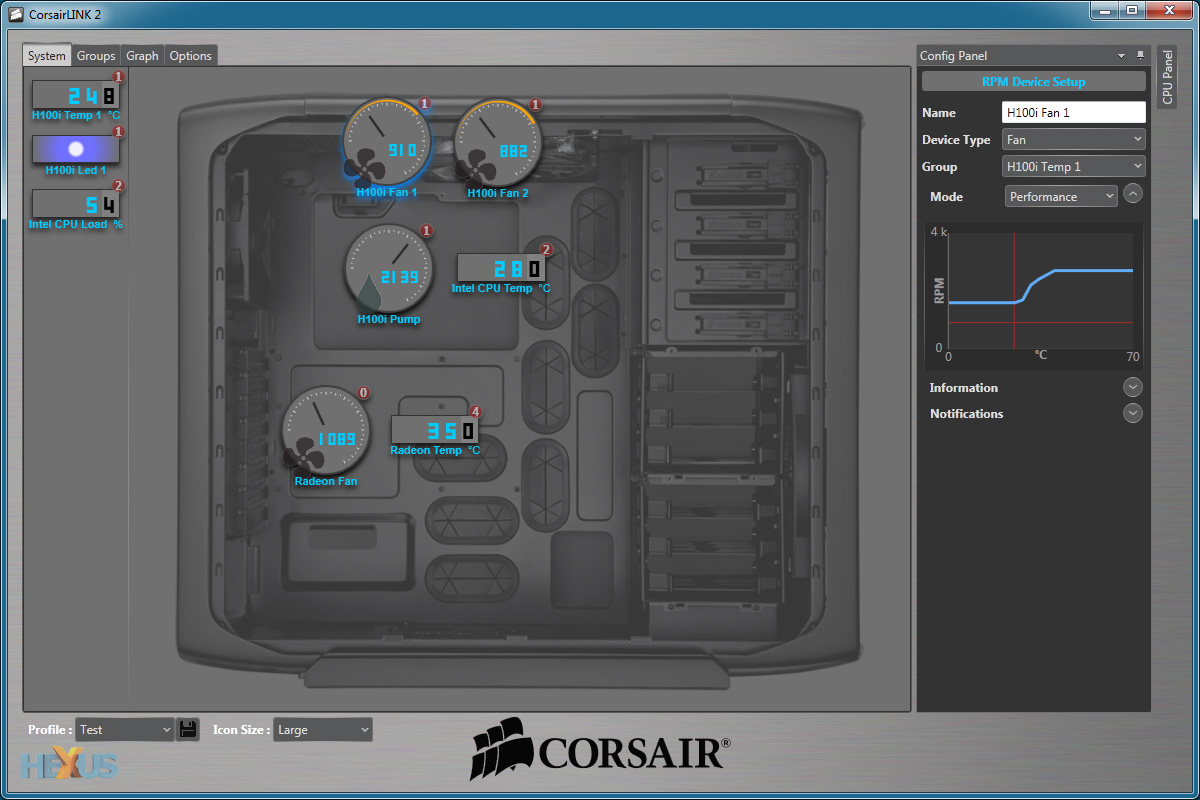 |
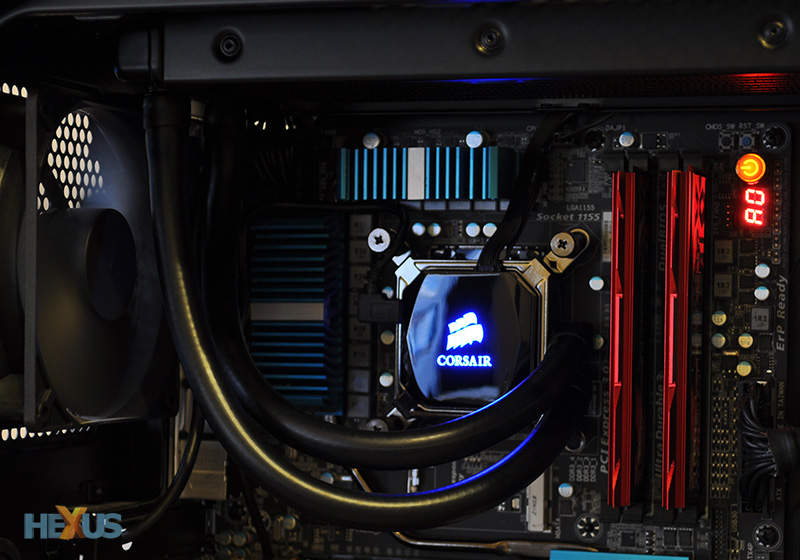
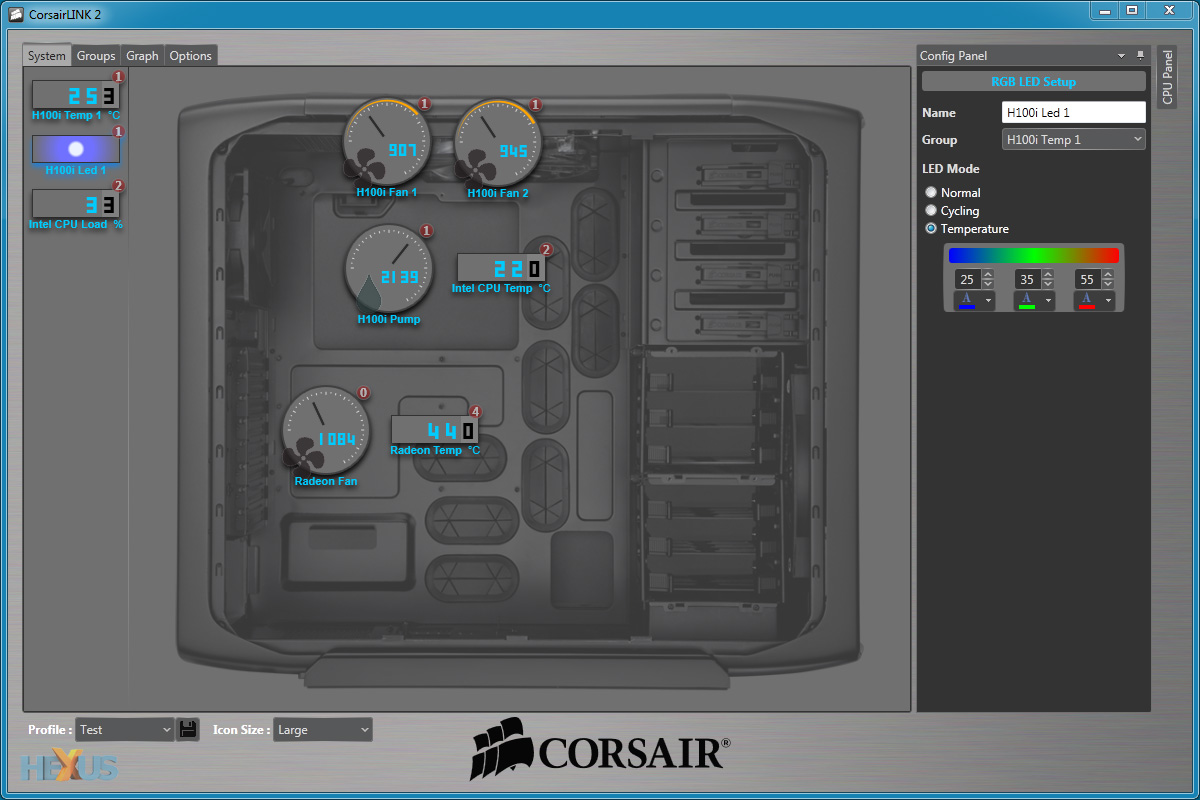
It's hard to imagine installation being any easier, and the good news for enthusiasts is that the tinkering doesn't stop there. With the Corsair Link software, users have the ability to monitor and configure the cooler to meet their precise needs. Basic tasks such as checking fan speed or coolant temperature are handled well, with clear on-screen icons, but Corsair Link gets interesting when you dig deeper. For example, the software can be used to create custom cooling profiles - where fan speed is triggered based on user-defined parameters - and the RGB colour of the pump's backlit Corsair logo can be changed manually, or based on CPU temperature.
The entire system - from installation to day-to-day use - works well. £90 is still a hefty fee for a CPU cooler, but with the H100i there's a feeling you're buying into a quality product that will last and continue to evolve through Corsair Link. Performance benchmarks are coming up, but before we get to that, we'll rate the Hydro Series H100i on presentation, installation and aesthetics. In keeping with our recent CPU cooler reviews, each category is scored out of five and we provide an overall percentage, as well.
Presentation |
Installation |
Aesthetics |
 |
 |
 |
|
One too many cables is all it takes to nudge the aesthetics score down from five to four, but the Hydro Series H100i is off to a flying start; no cooler has ever scored as high as 87 per cent. Can Corsair serve up the performance to match?


