


External Appearance
It only takes a brief look at the front of the case to spot the obvious 'Spiderman' parallels in the styling of the case - No doubt if Peter Parker didn't need to keep his identity secret, this would be his case of choice.
For the rest of us mere mortals, the aesthetic merit of this colourful (and, it has to be said, somewhat plastic-looking) case front is going to depend largely on personal opinion - For some it will be a thing of beauty, while others would doubtless prefer a more simple, 'elegant' styling. Personally, I'll sit on the fence on this one, and allow you to judge for yourself from the pictures.
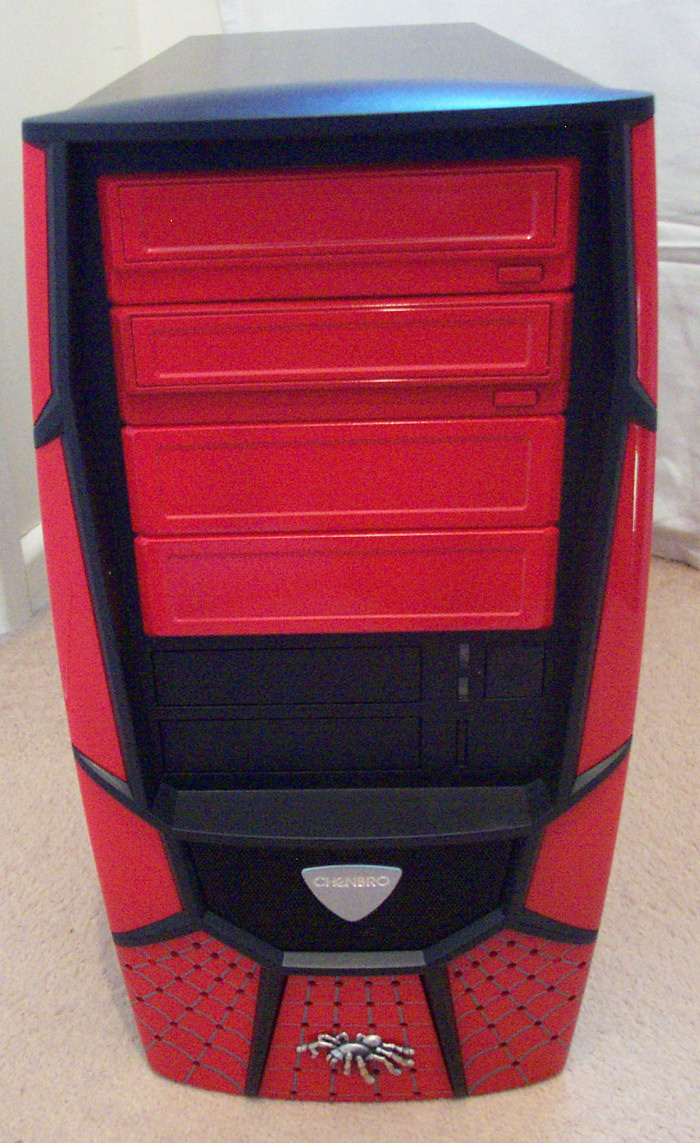
Removing the entire front panel to install CD-ROM drives and the like is simplicity itself - The panel can be removed easily after pulling the two levers just inside the case, a neat touch which makes for a painless install of anything into the 5.25" bays. You can also see that Chenbro have provided fascias for a couple of CD-ROM drives, meaning you can put your device of any colour into the system behind the red fascia, and thus not lose any of the styling and colour co-ordination of the case.
The rest of the case front comprises of a couple of 3.5" drive bays (No fascias for your floppy drive though I'm afraid), power and reset switches, and blue power and hard disk activity LEDs.
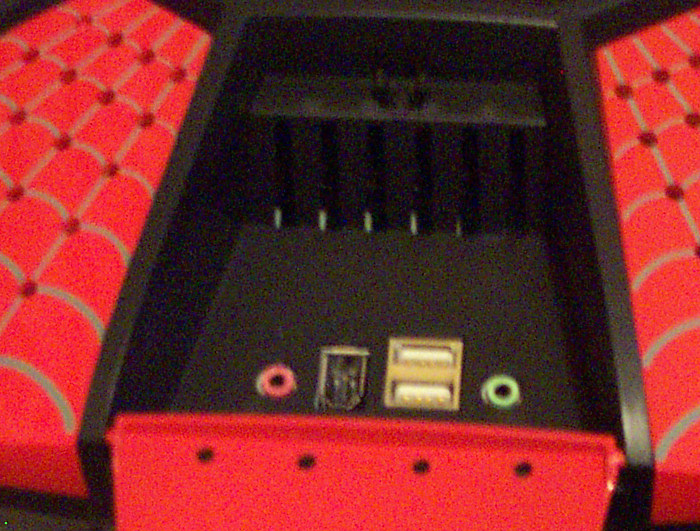
Hidden neatly under the front middle panel is a range of front port connections, which you can access via a push-button mechanism. These connections give you easy access to both microphone and headphone sockets, as well as a single FireWire and two USB ports. You could argue that it would be nicer to see more USB connections at the front of the case, but two is likely to be enough for most. The spider (or Xpider, depending on your penchant for product names misspelling words) logo on this front panel can be removed if preferred.
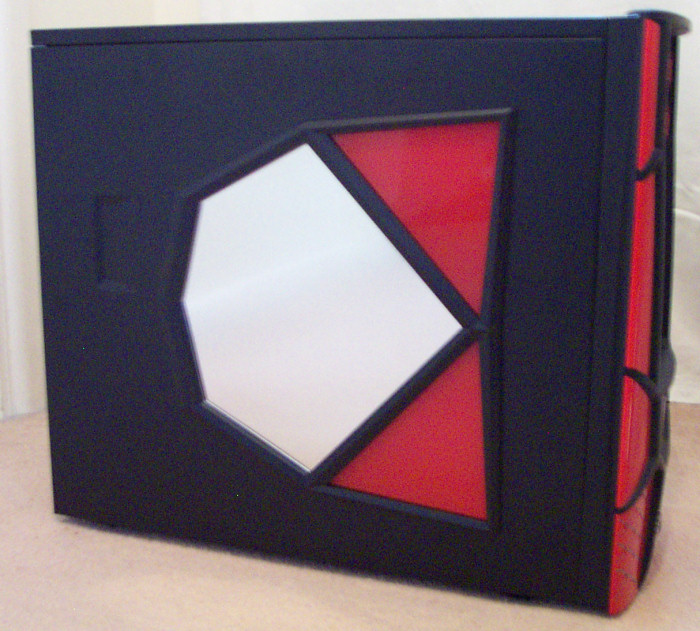
The rest of the outside of the case is a nice, matt black finish. The cases side panel supports a rather fetching looking window. The good news here is that by default, the window is covered on the inside by a silver, tin plate (as seen here), which can be unscrewed and removed, before re-screwing just the Perspex panel back into place to reveal a true window into the case. This leaves users with the best of both worlds - A window to show off your fantastic rig covered in LEDs, or an opportunity to hide the mass of cables and dust sat inside your machine.
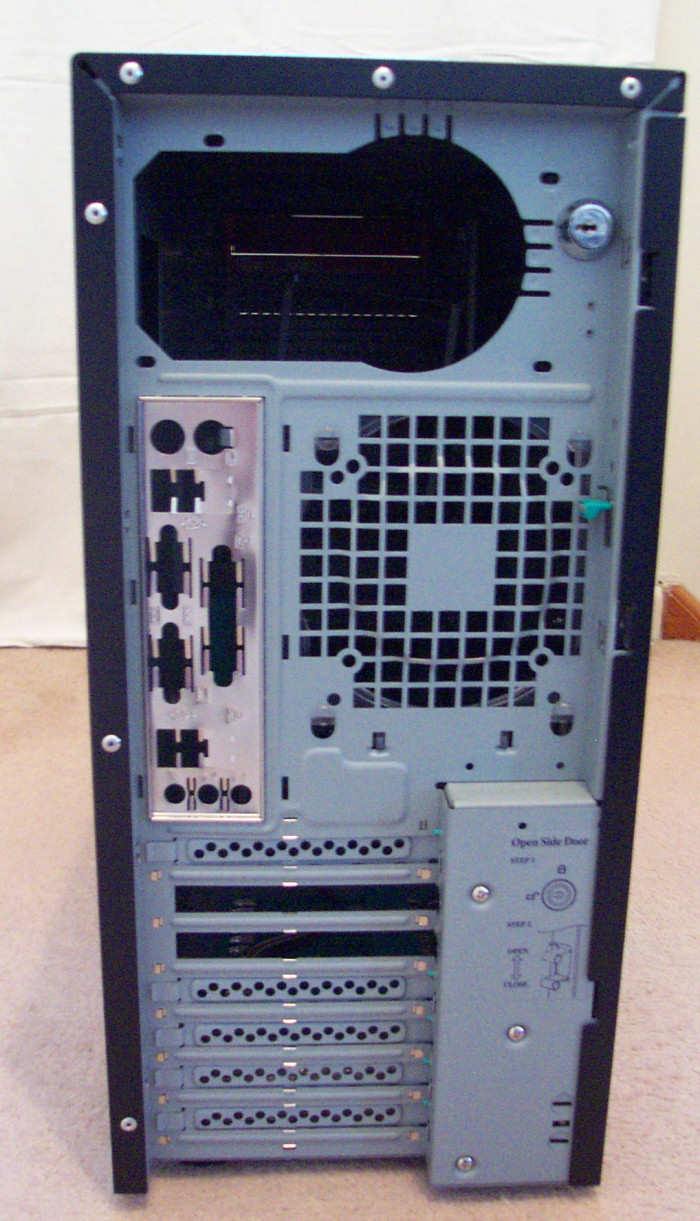
Moving to the back of the case we find a locking mechanism for the side panel with requisite key, and also a large vent capable of taking up to a 120mm fan.
Let's move on by taking a look inside the Xpider.


